![[In Stock] Lelepad Custom Numpad/Macropad Hotswappable Keyboard](/images/getzfrontier.shop/images/product/in-stock-lelepad-custom-numpad-macropad-keyboard-1.jpg)
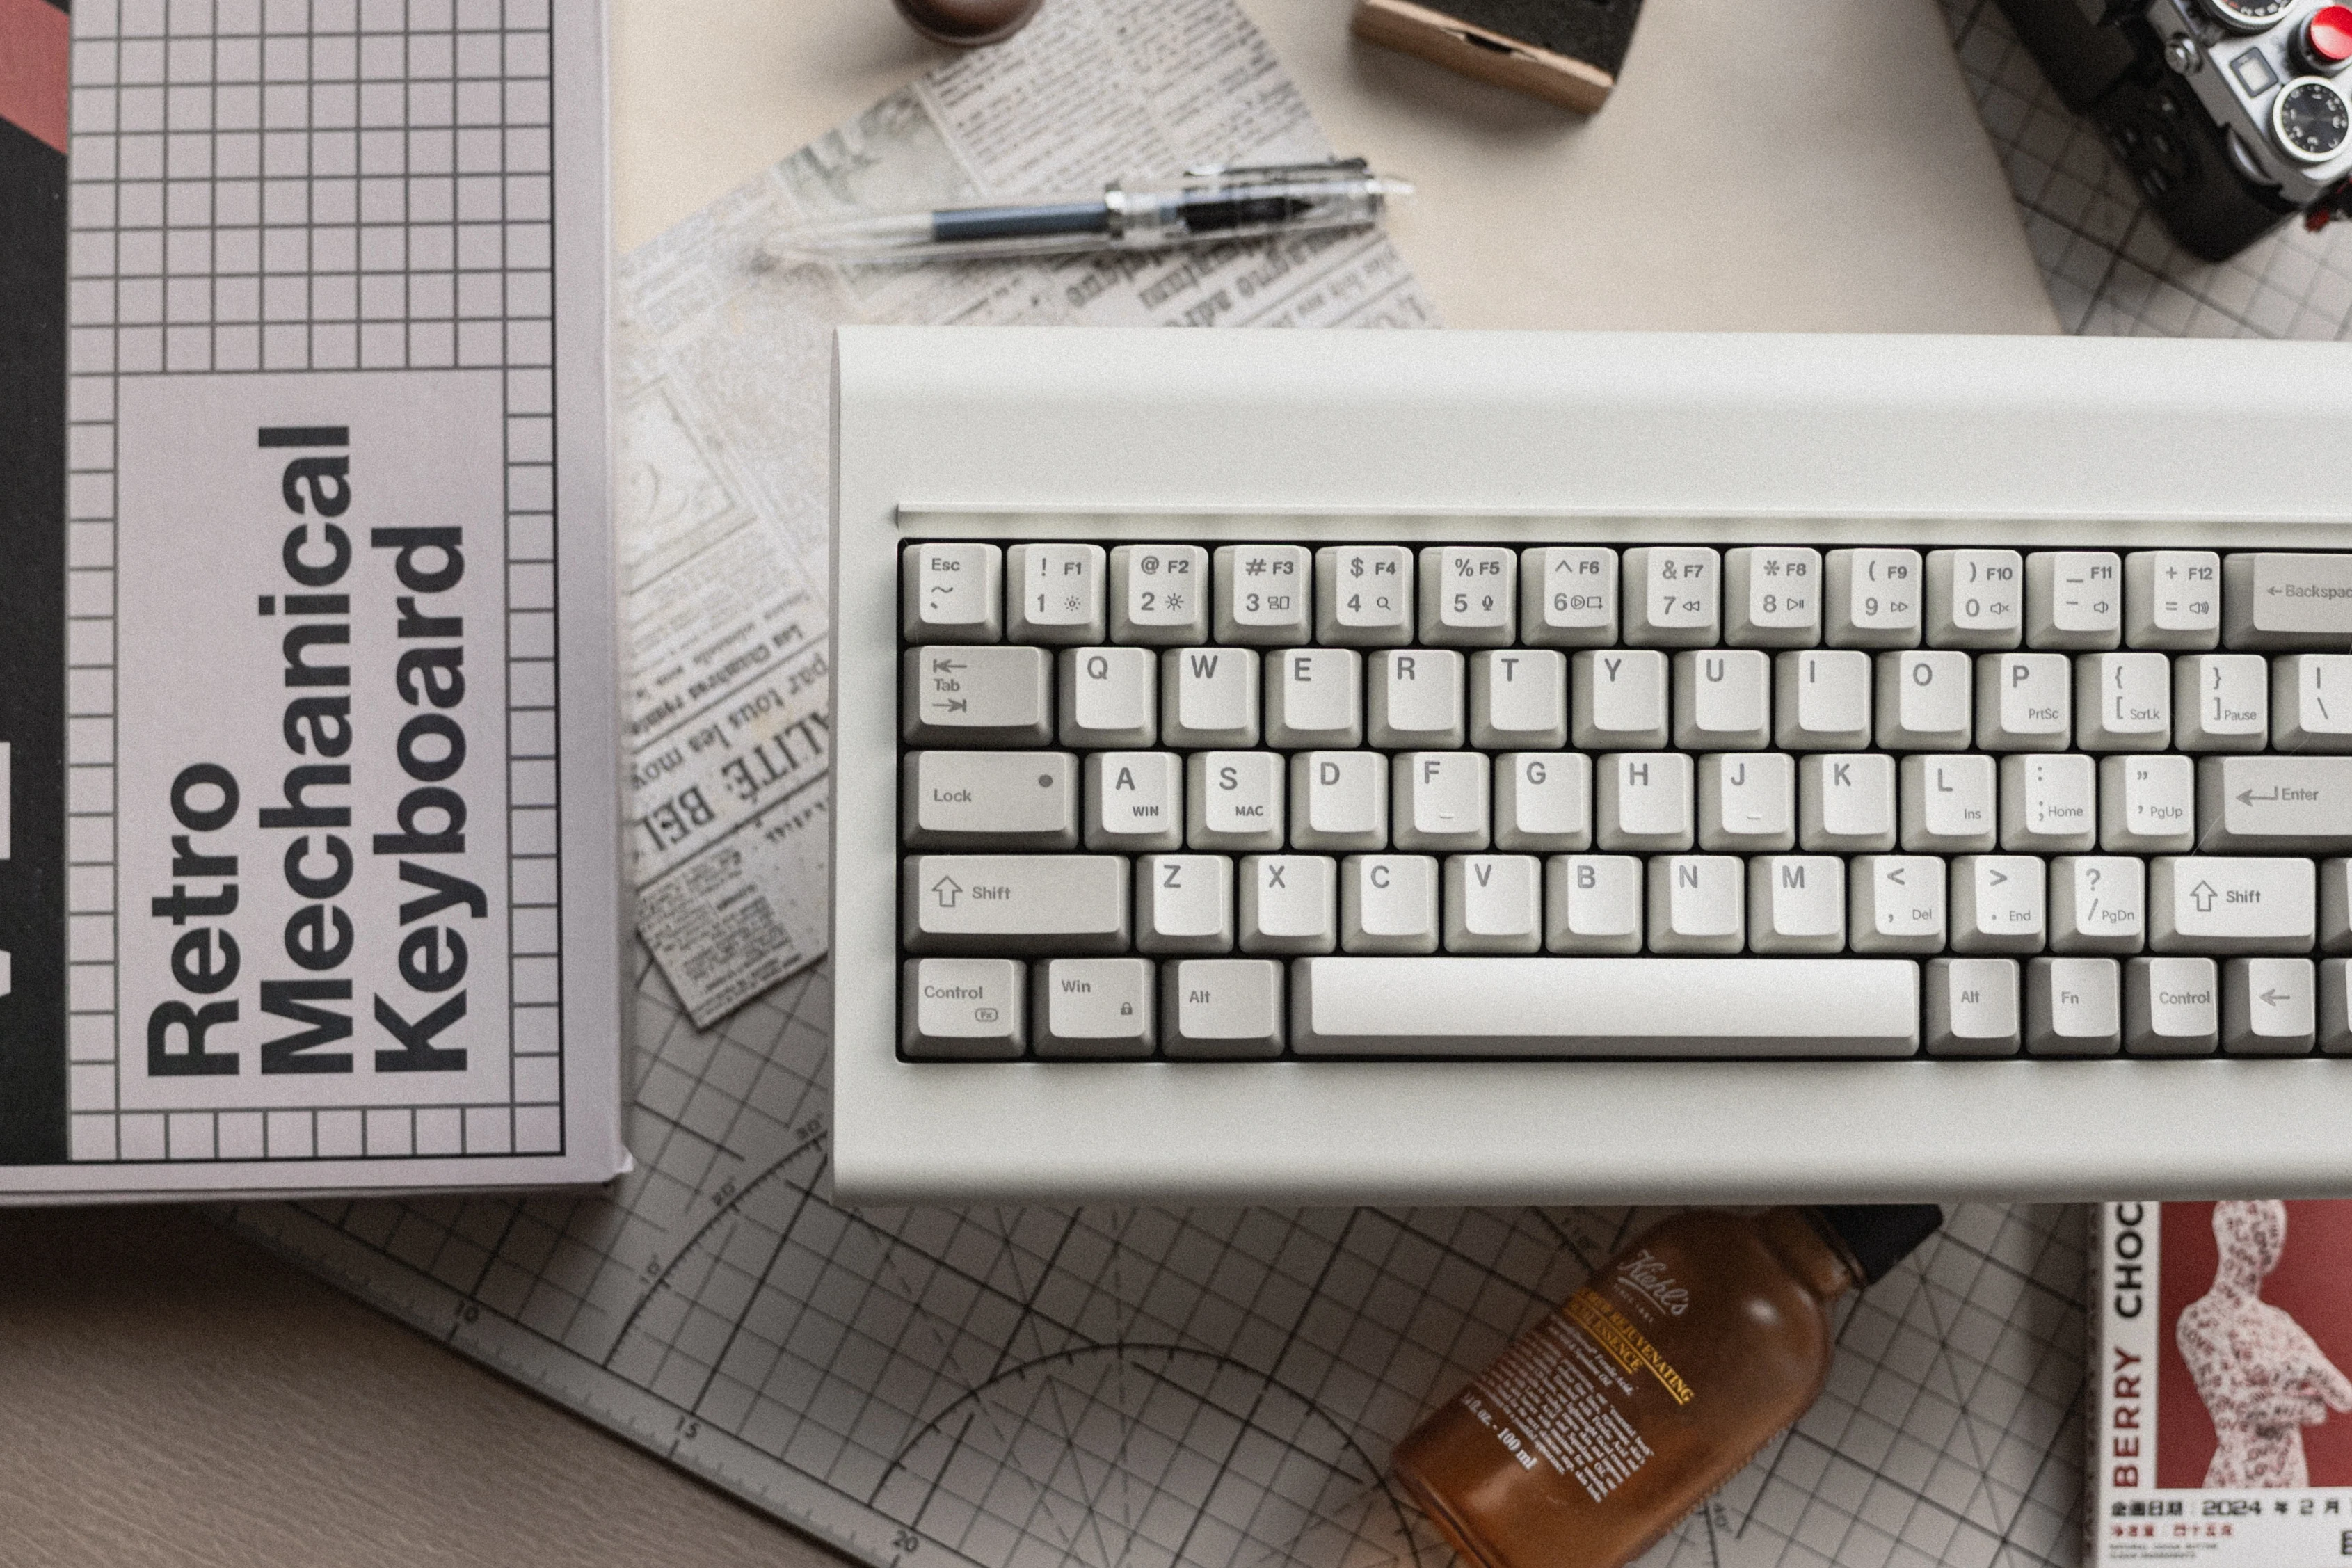
[In Stock] Lelepad Custom Numpad/Macropad Hotswappable Keyboard
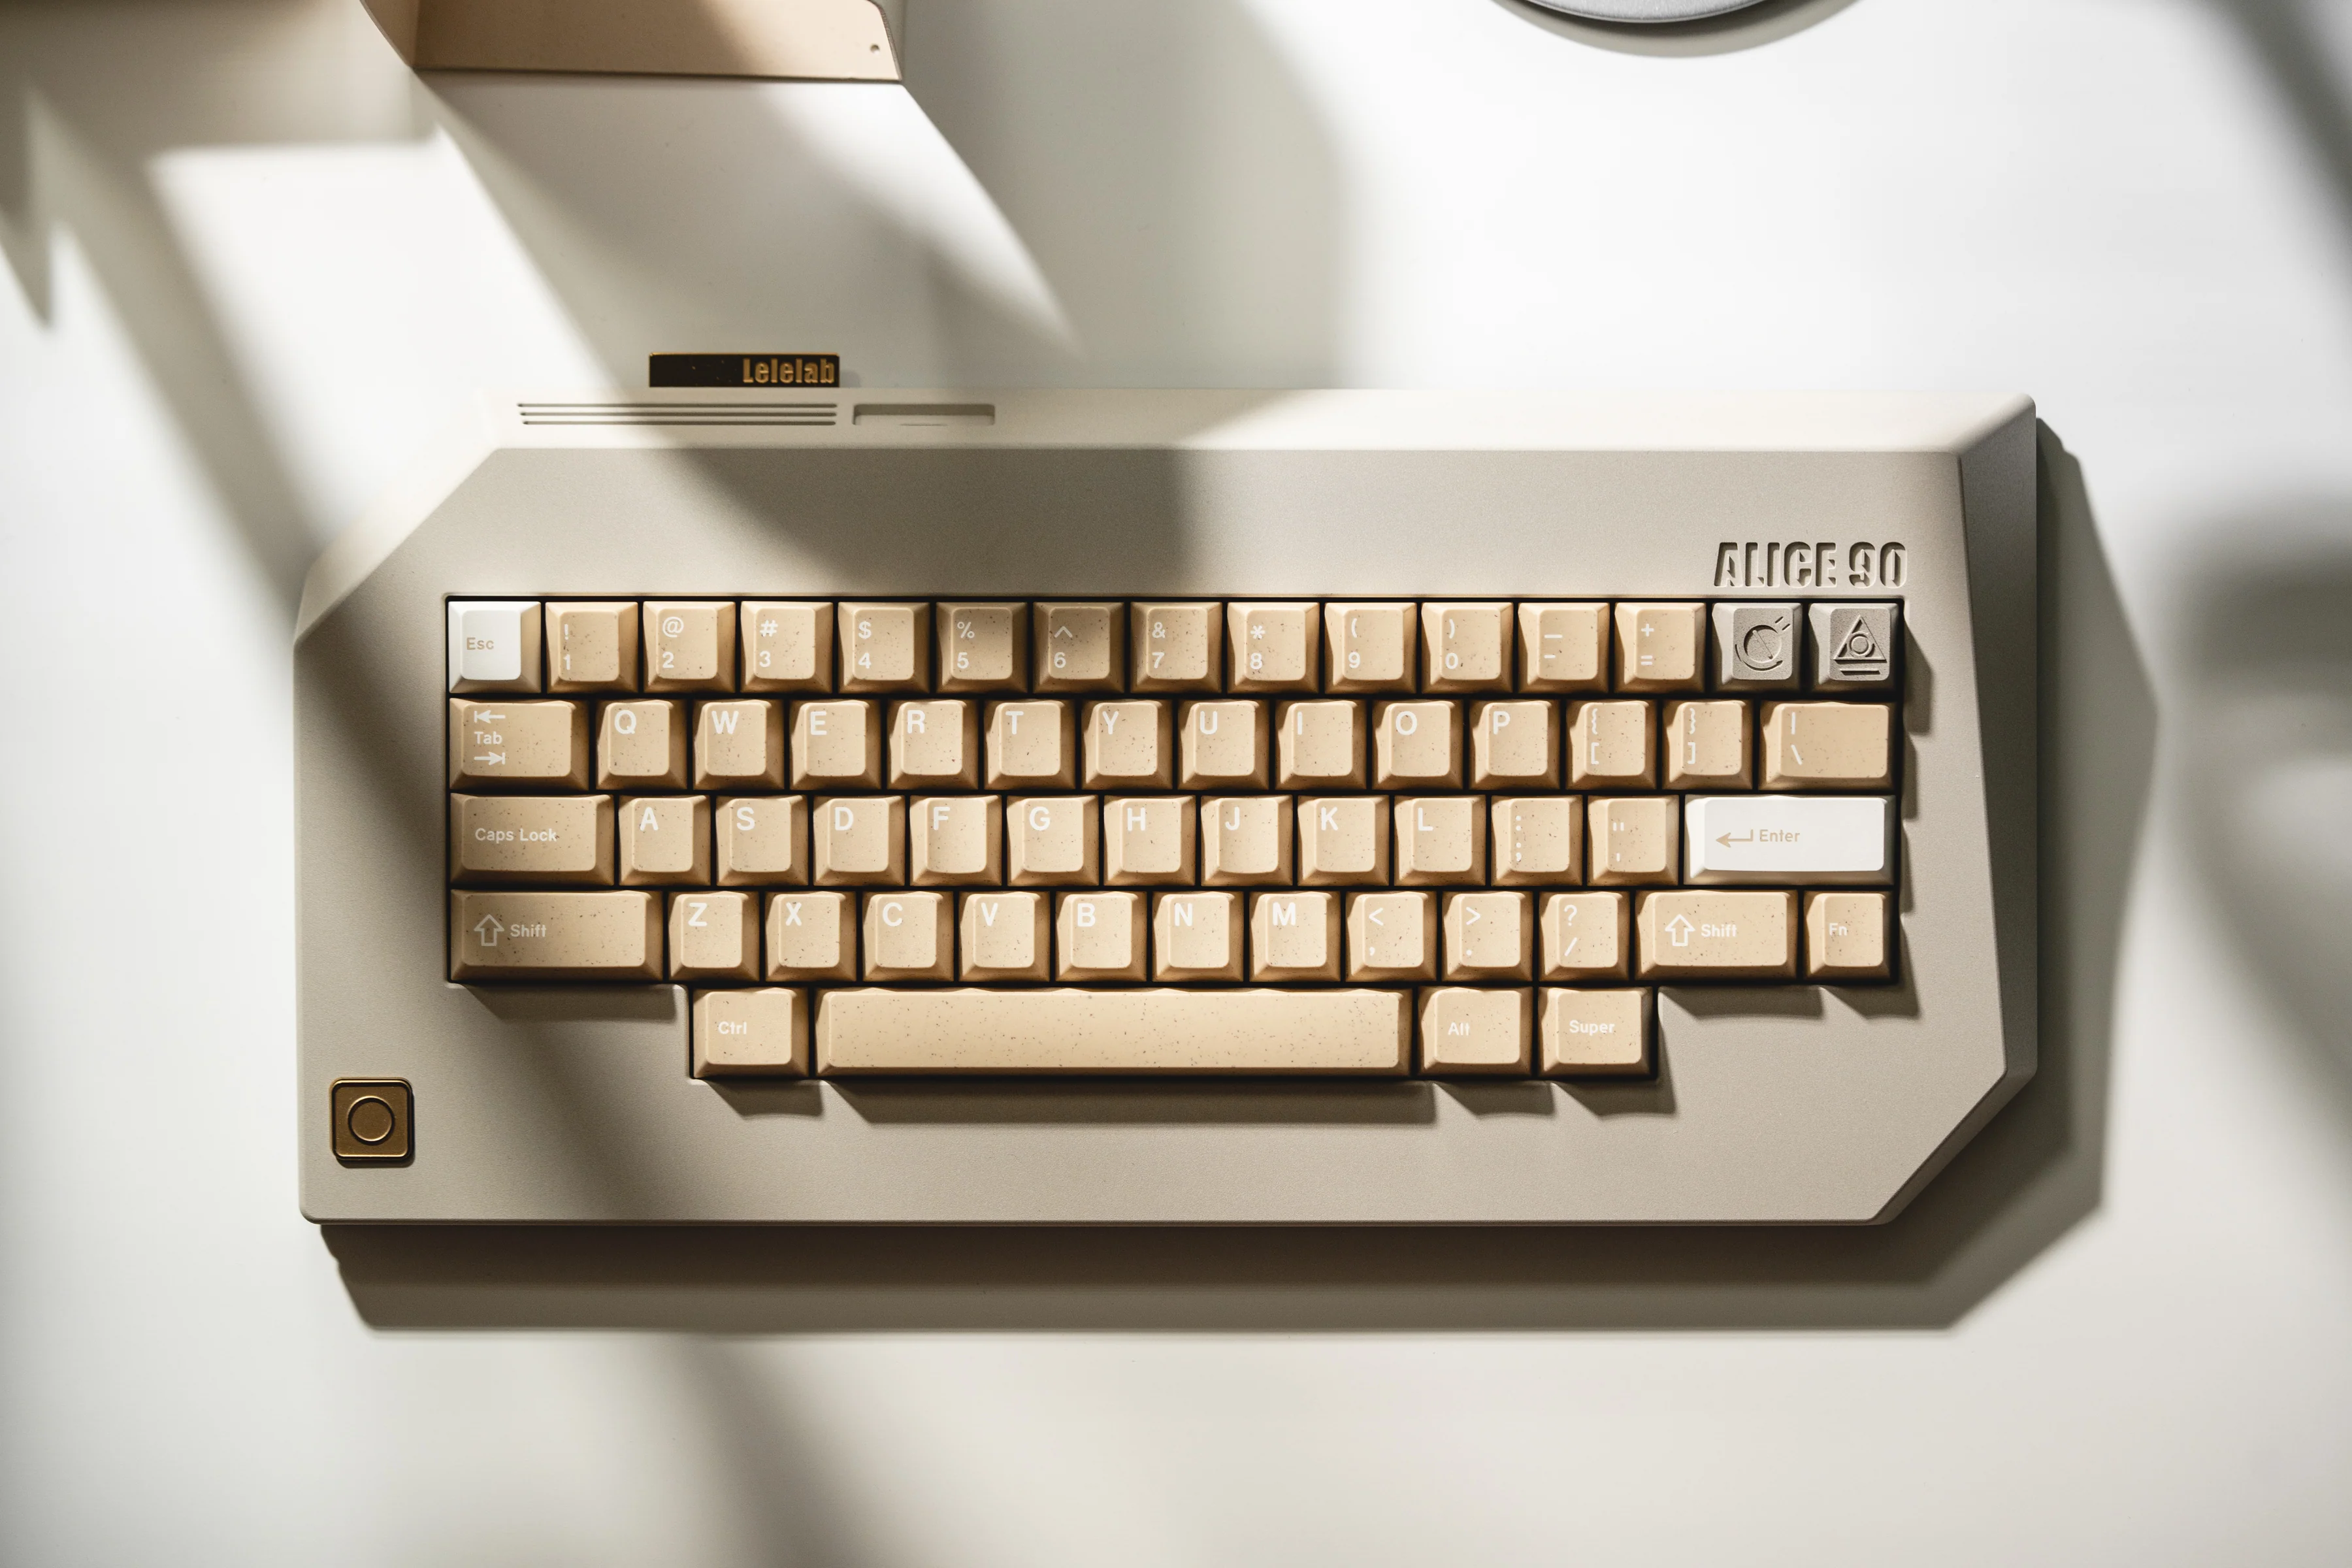
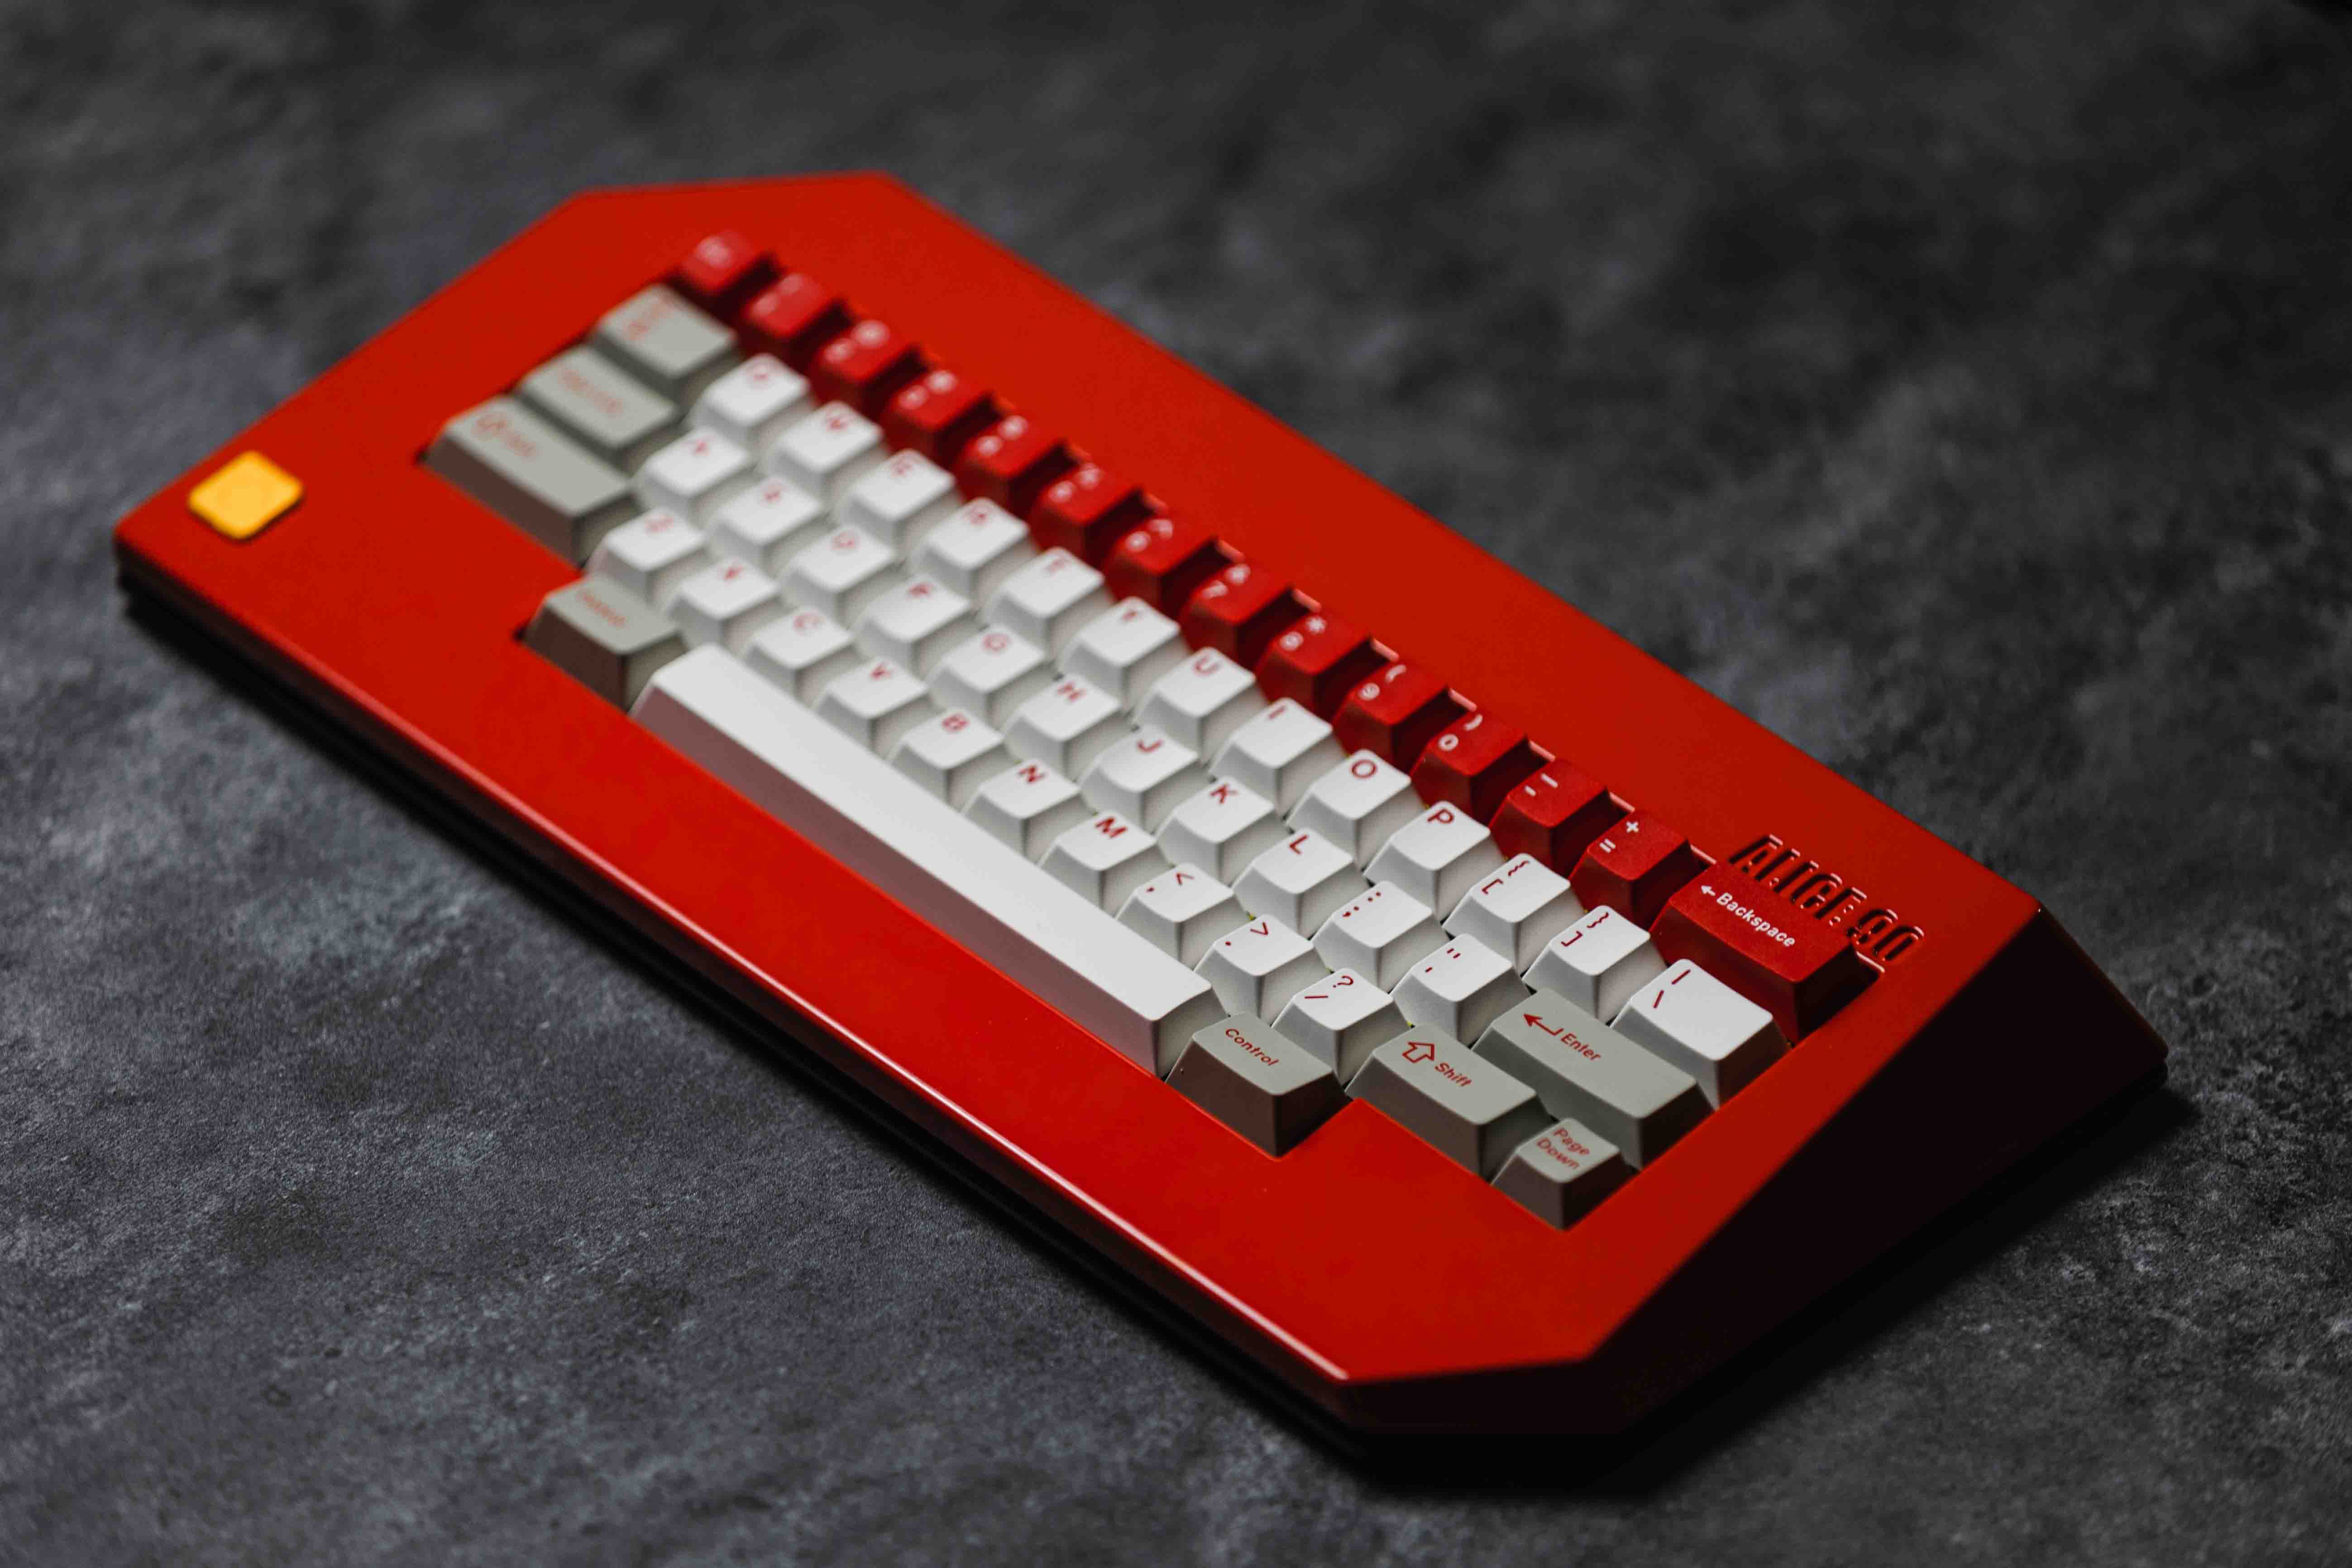
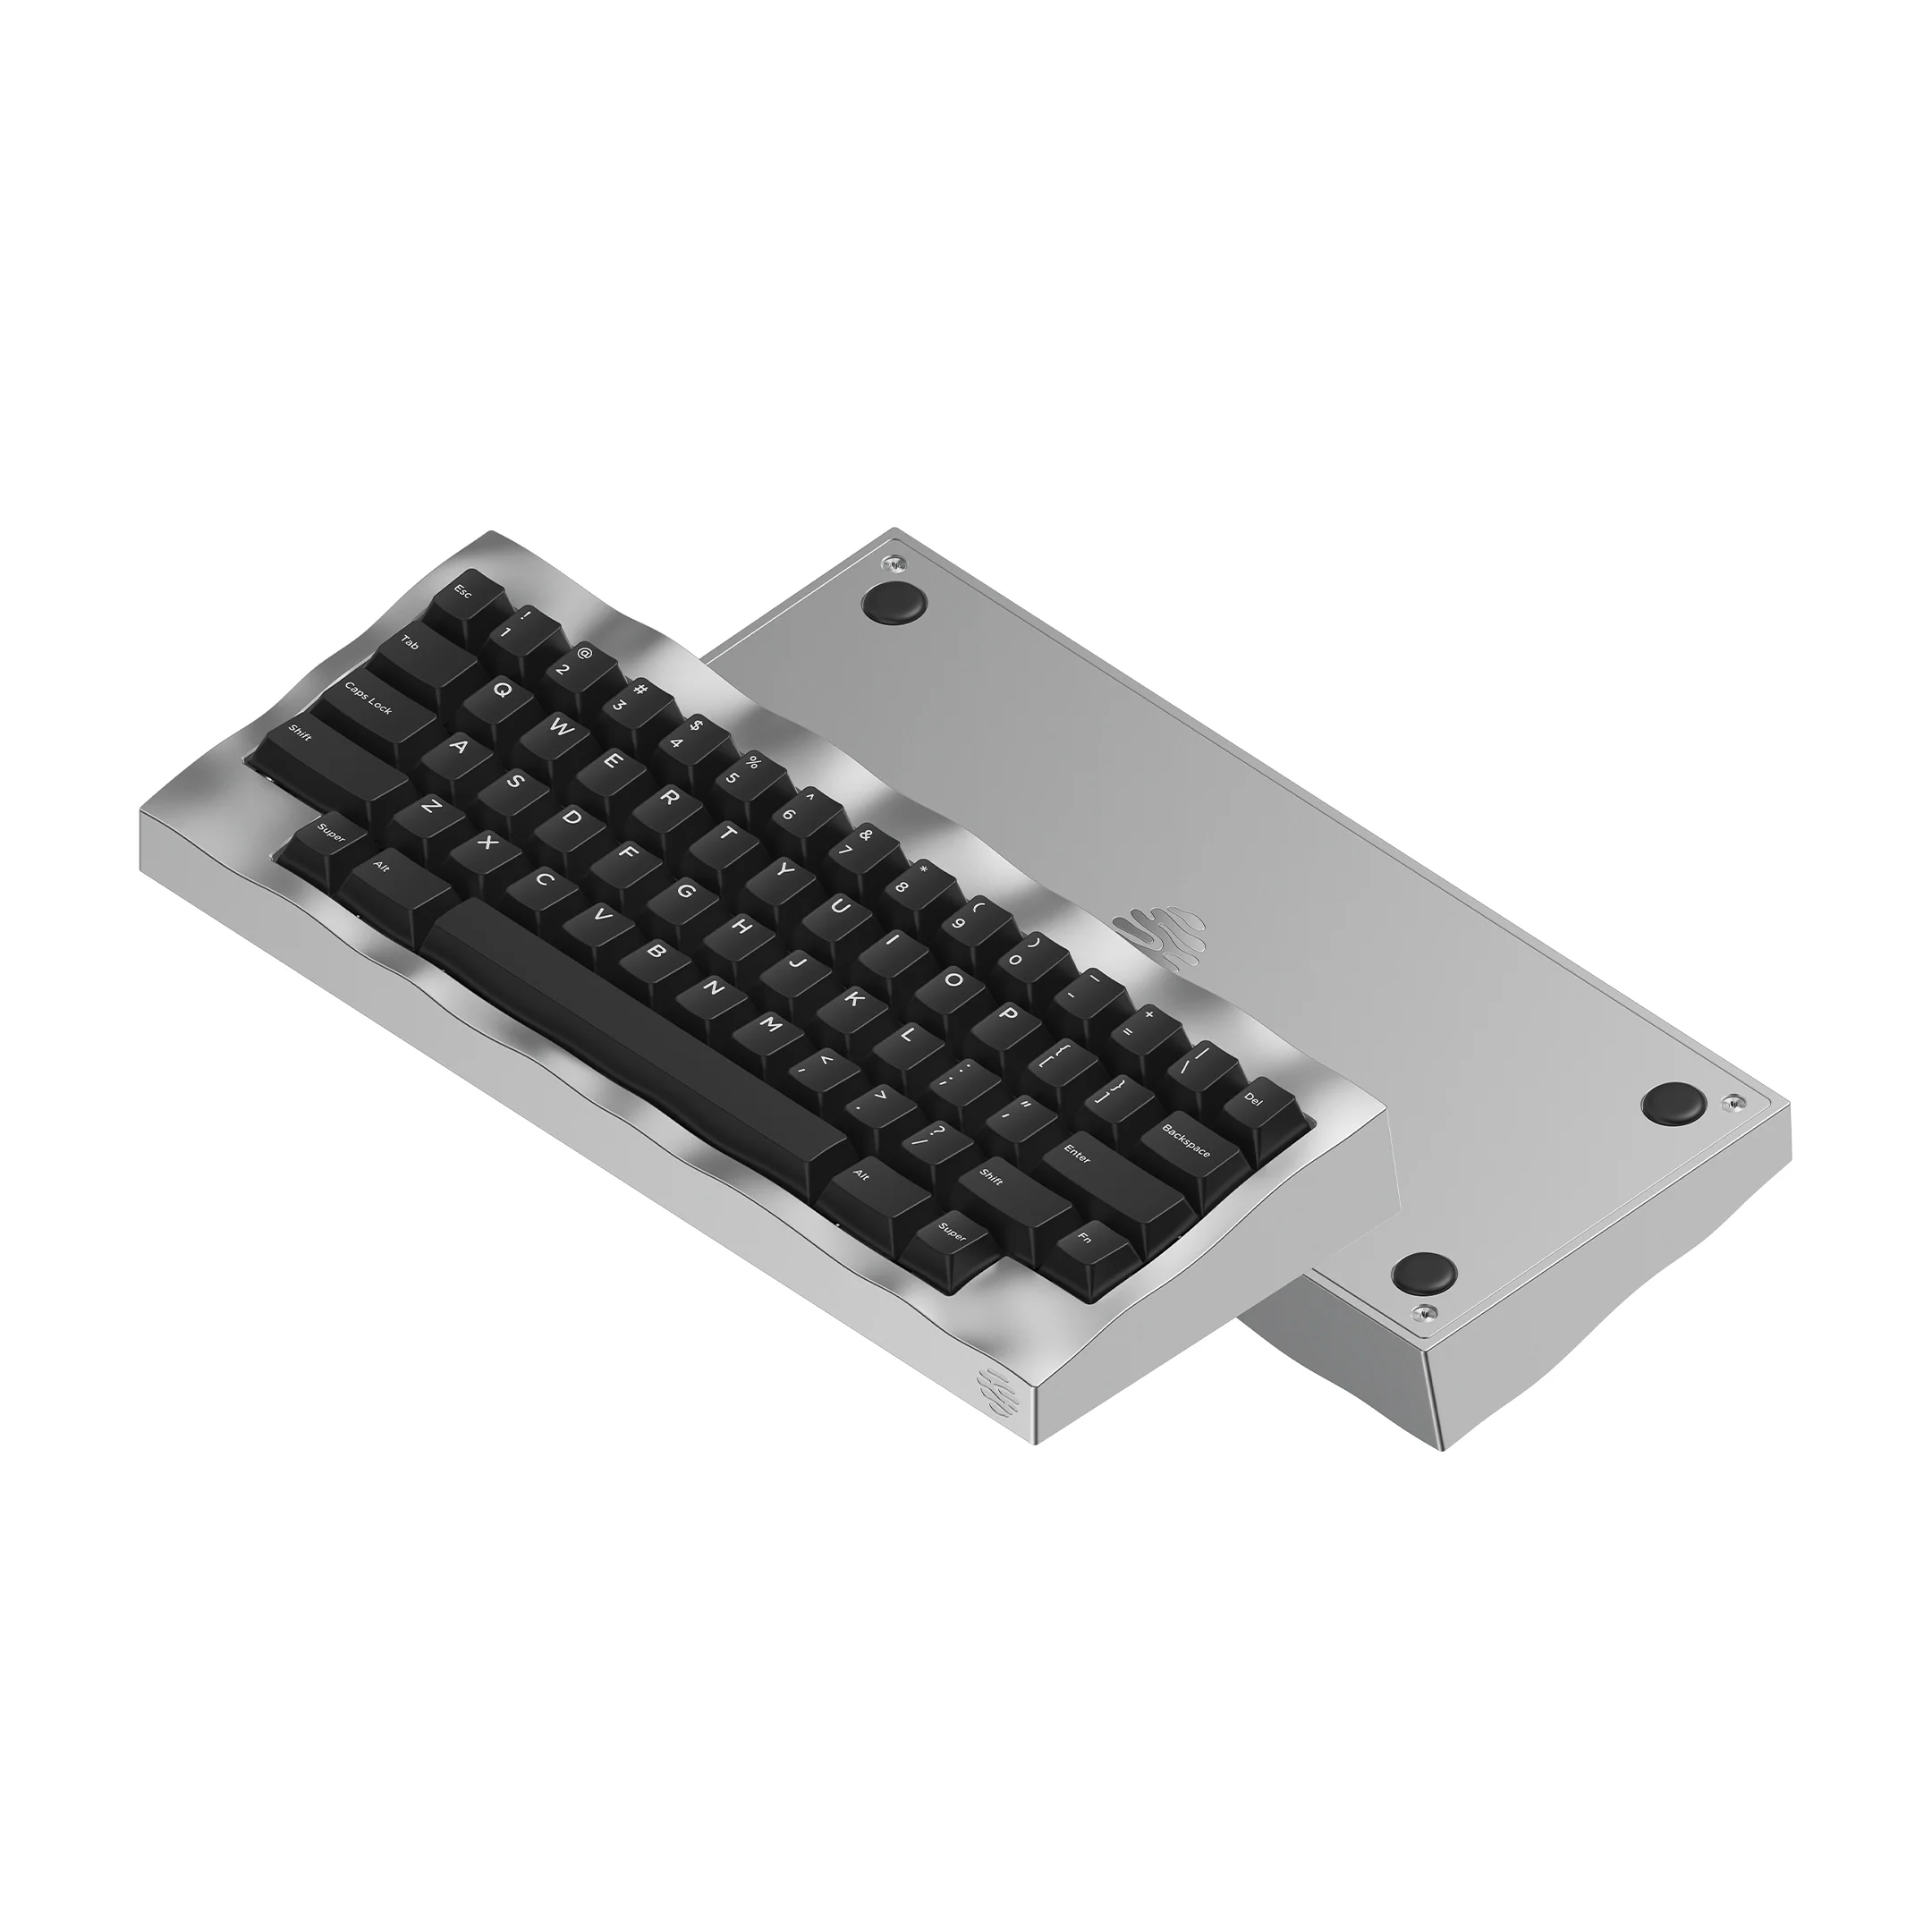
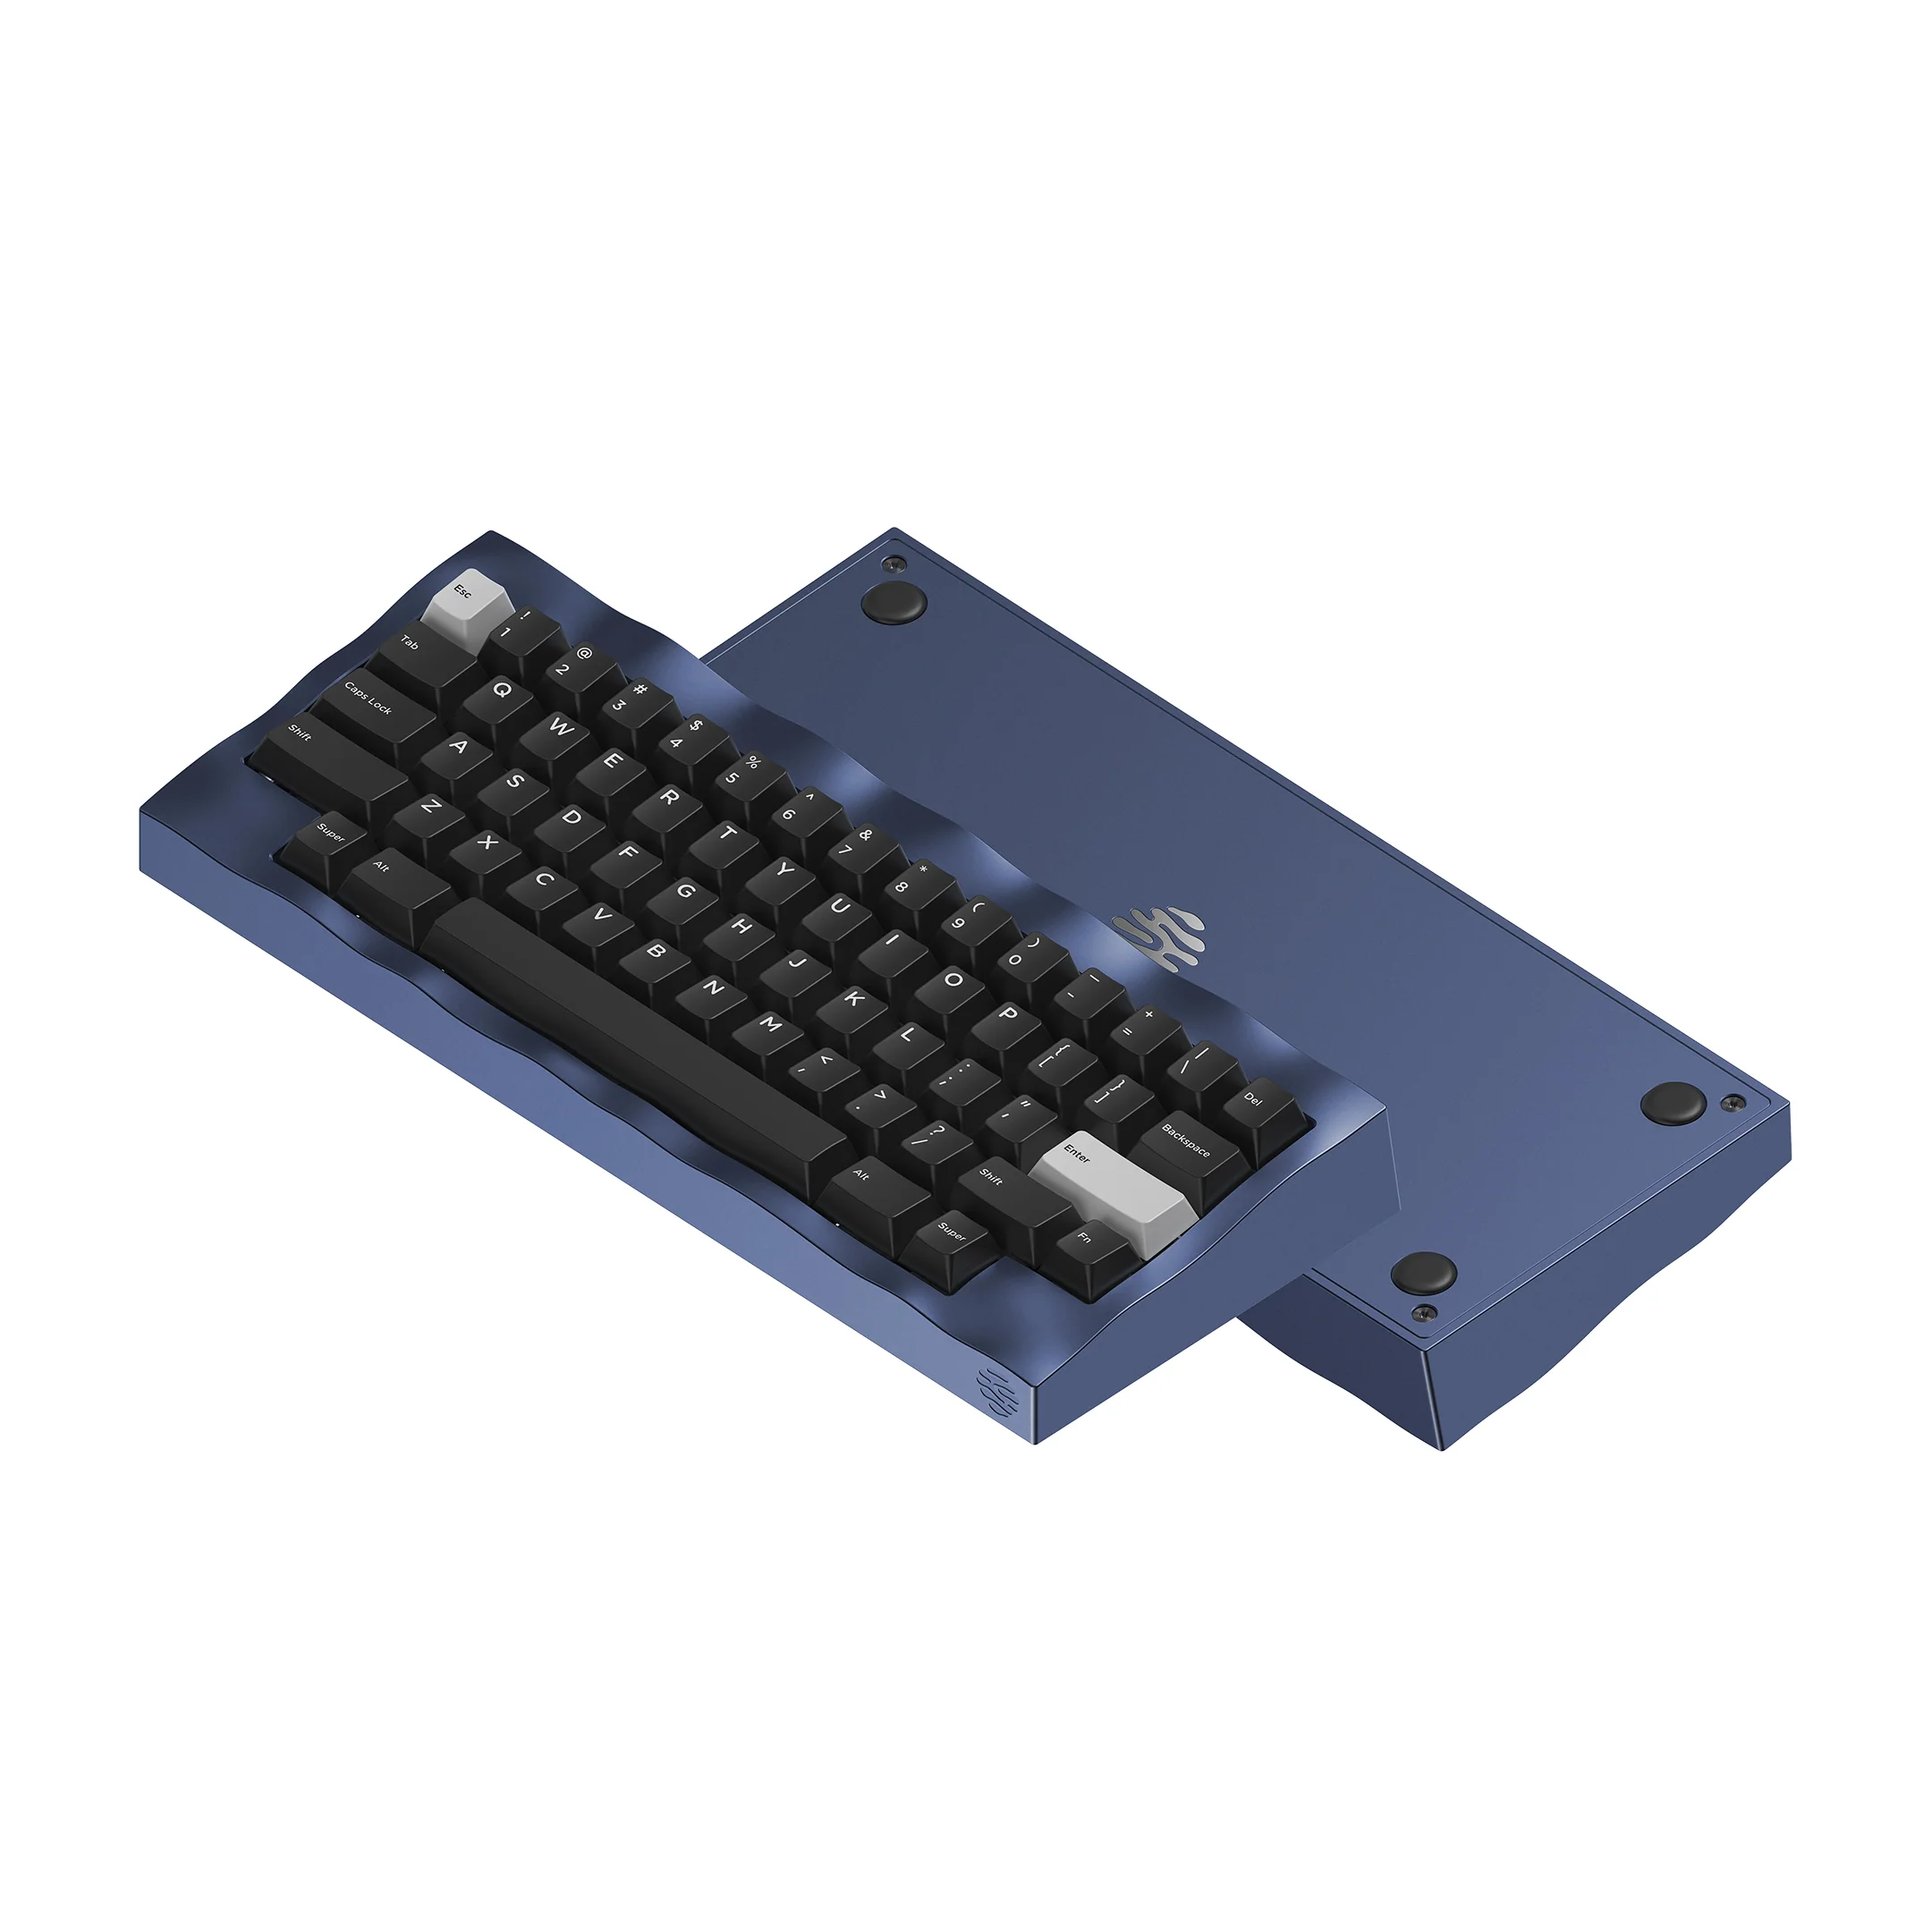
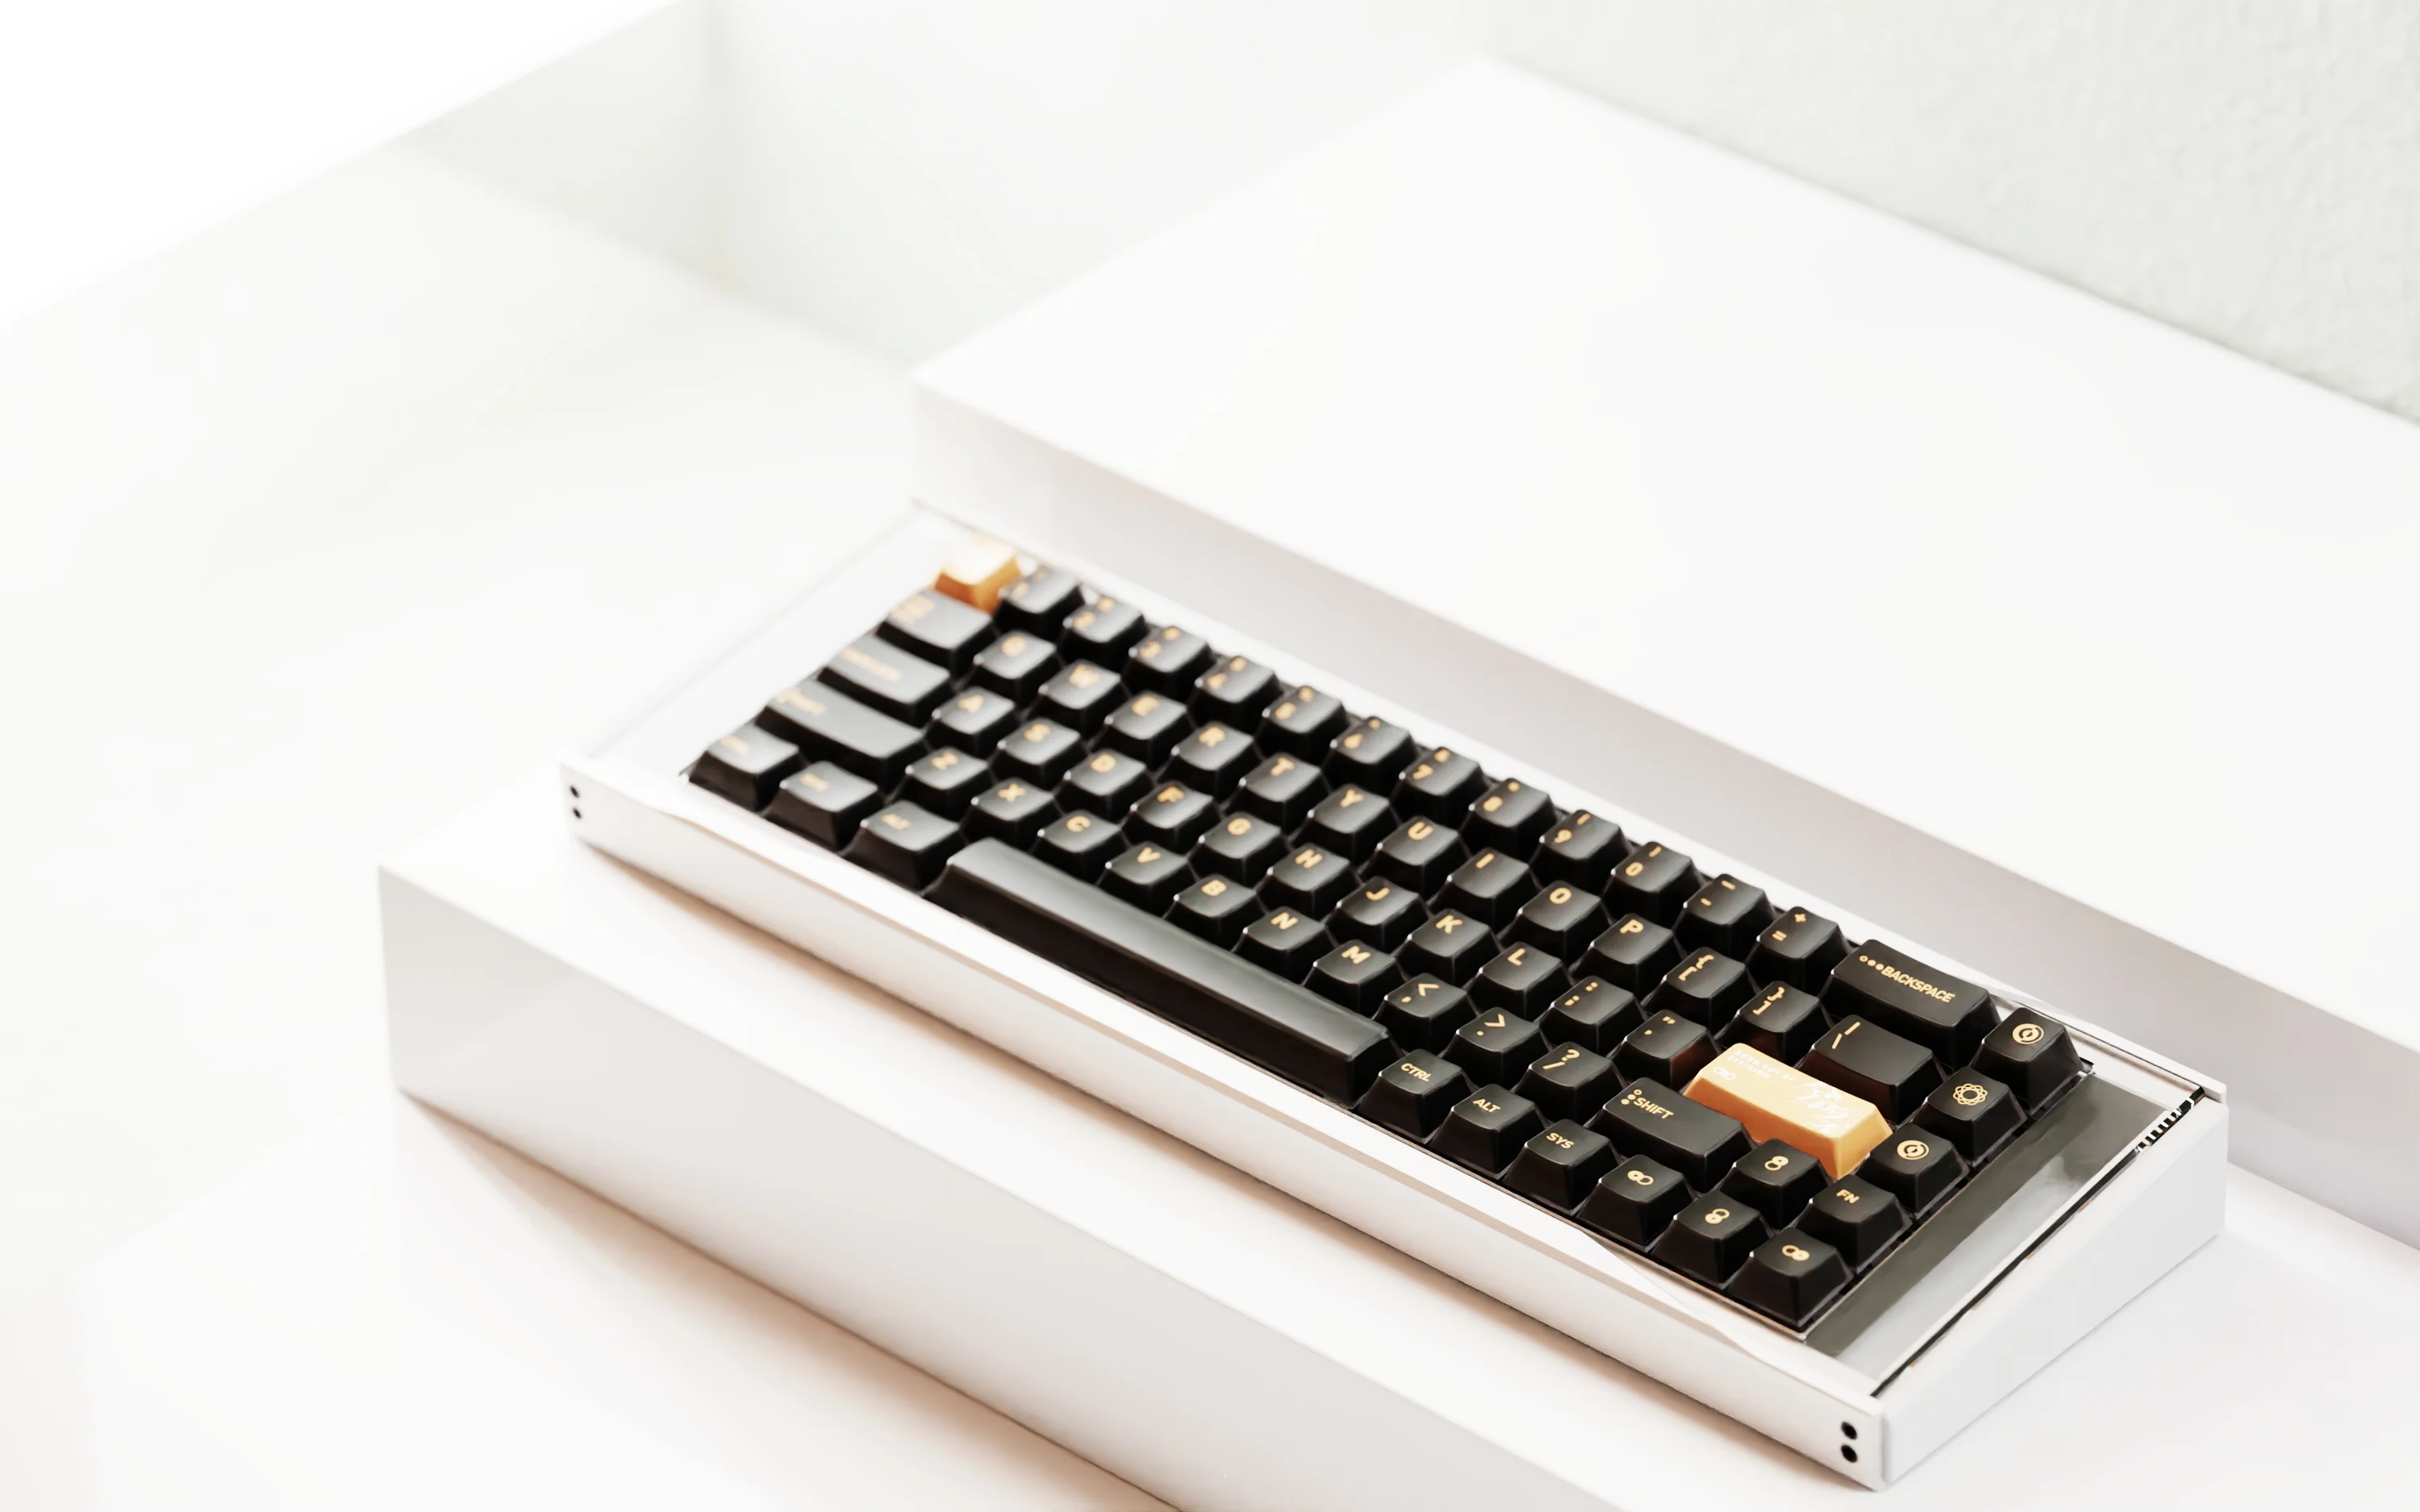
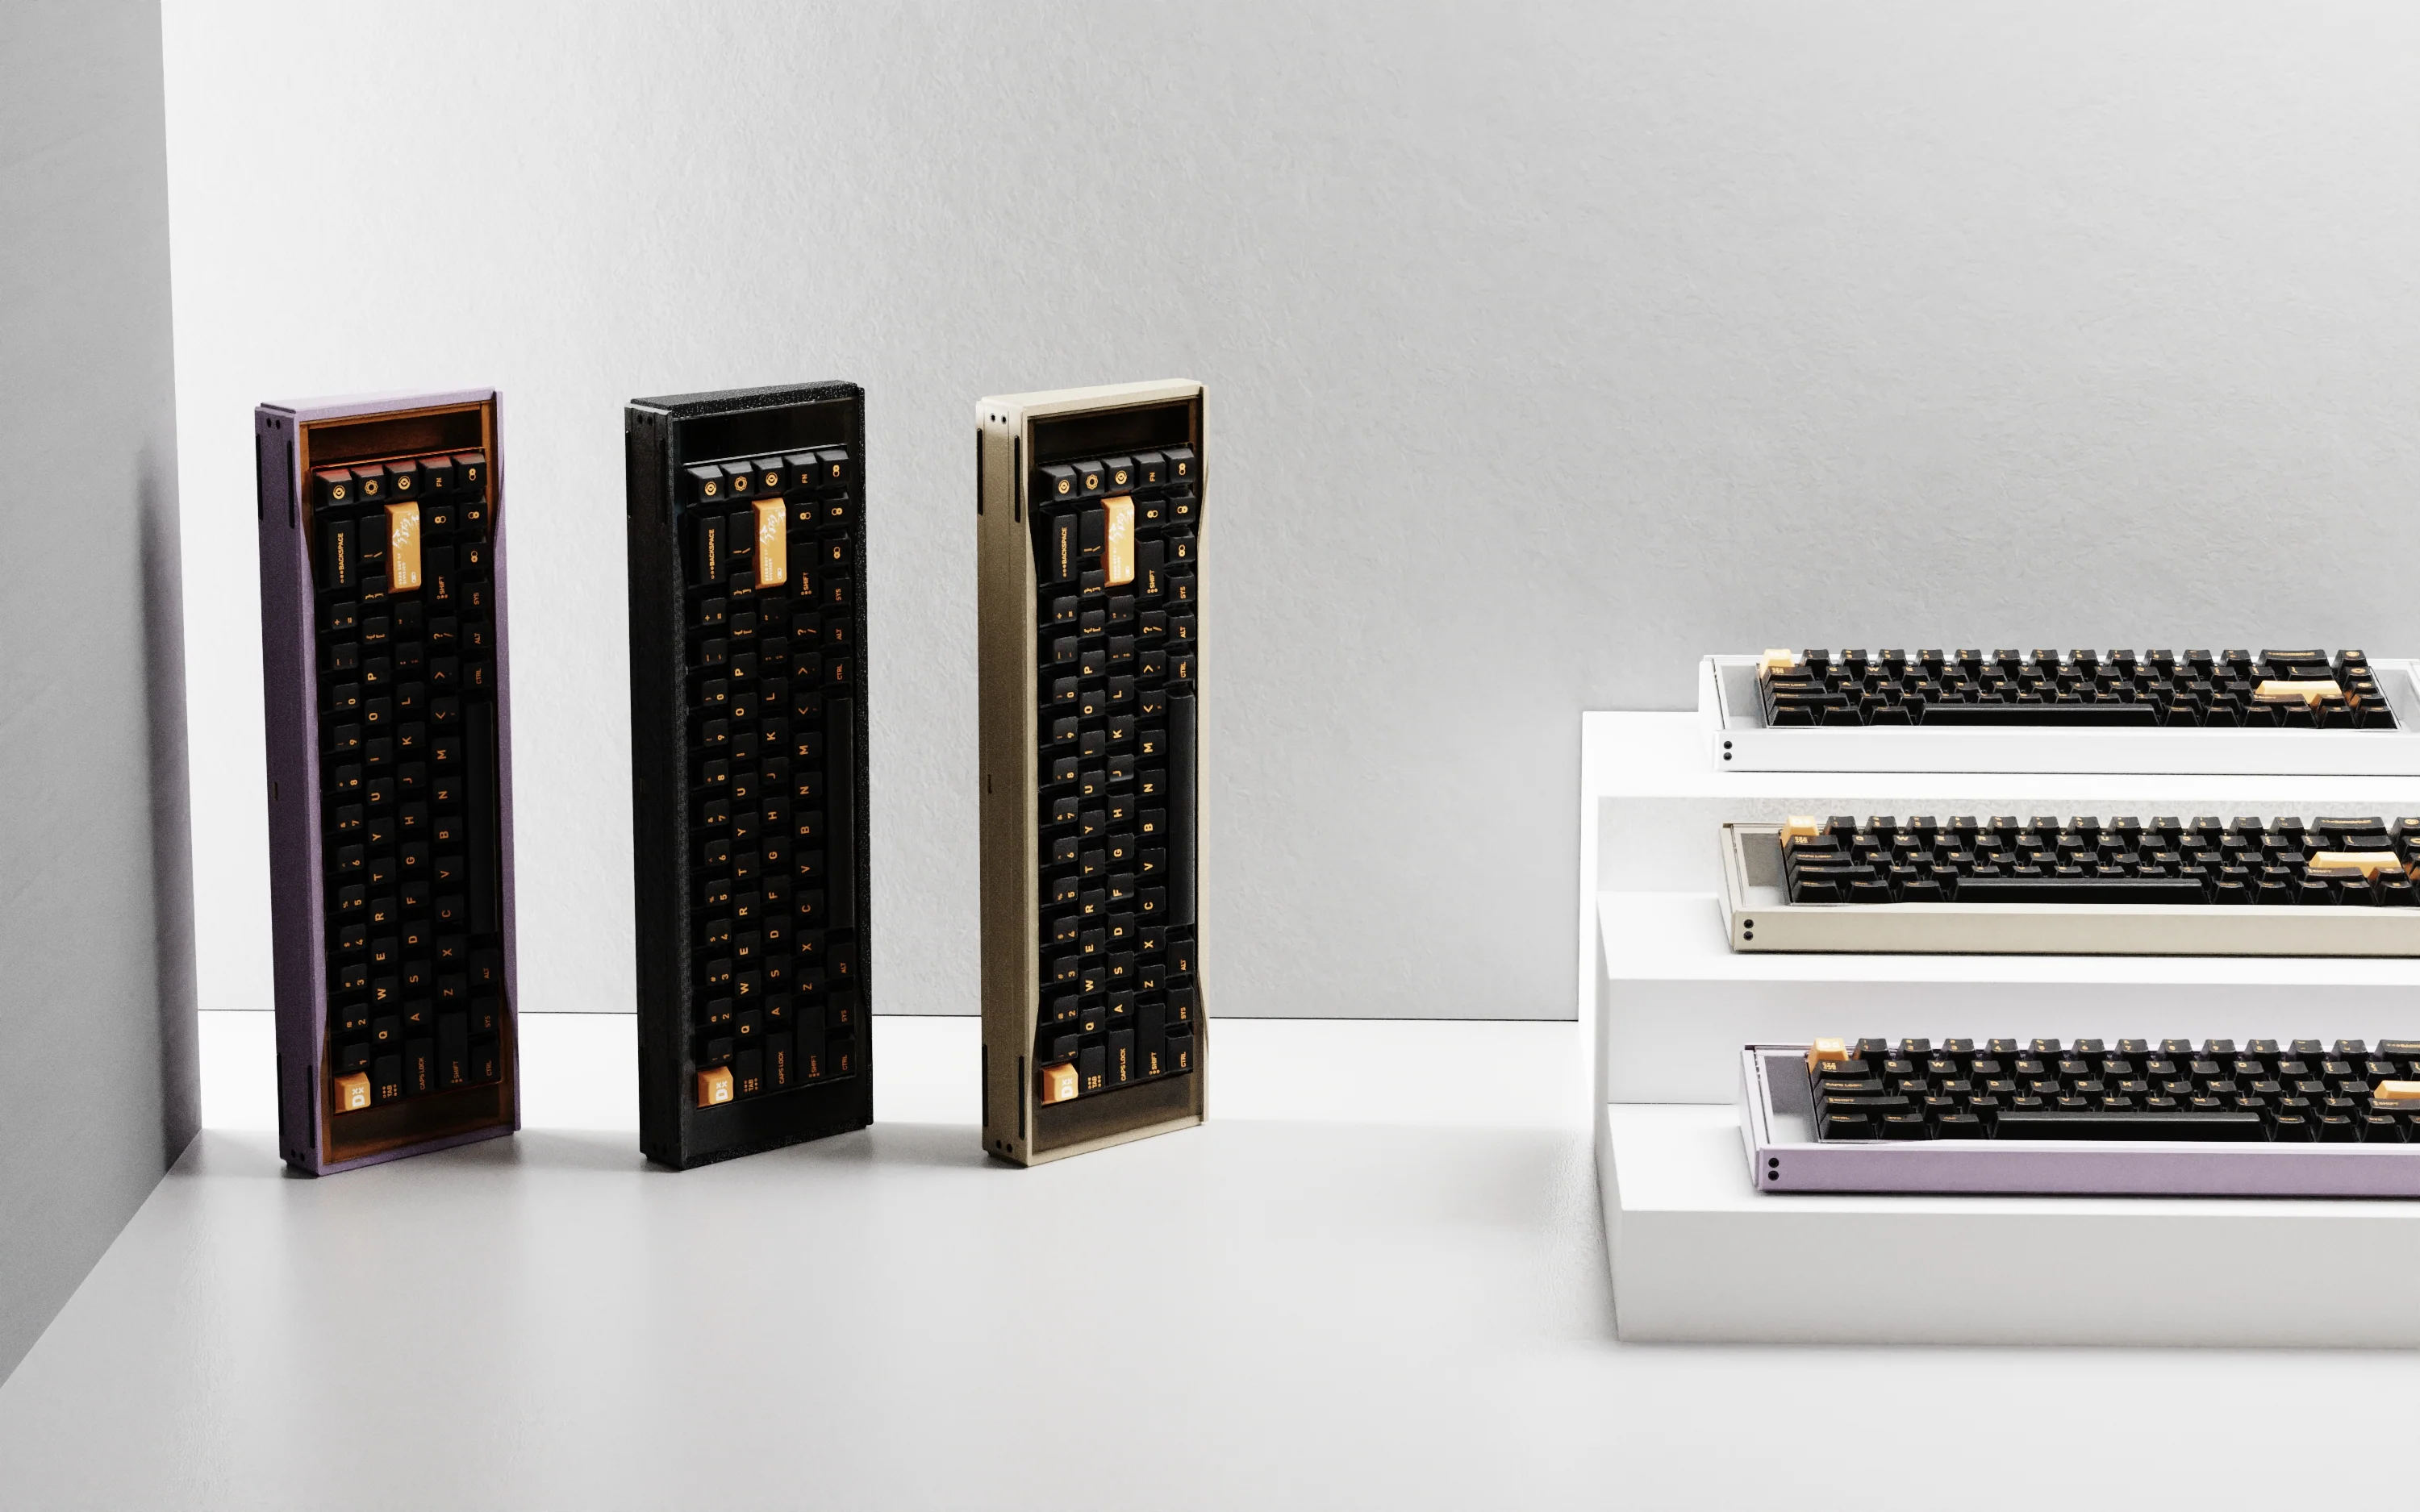
LelePad Custom Numpad/Macropad Hotswappable Keyboard Kit
by Lelelab
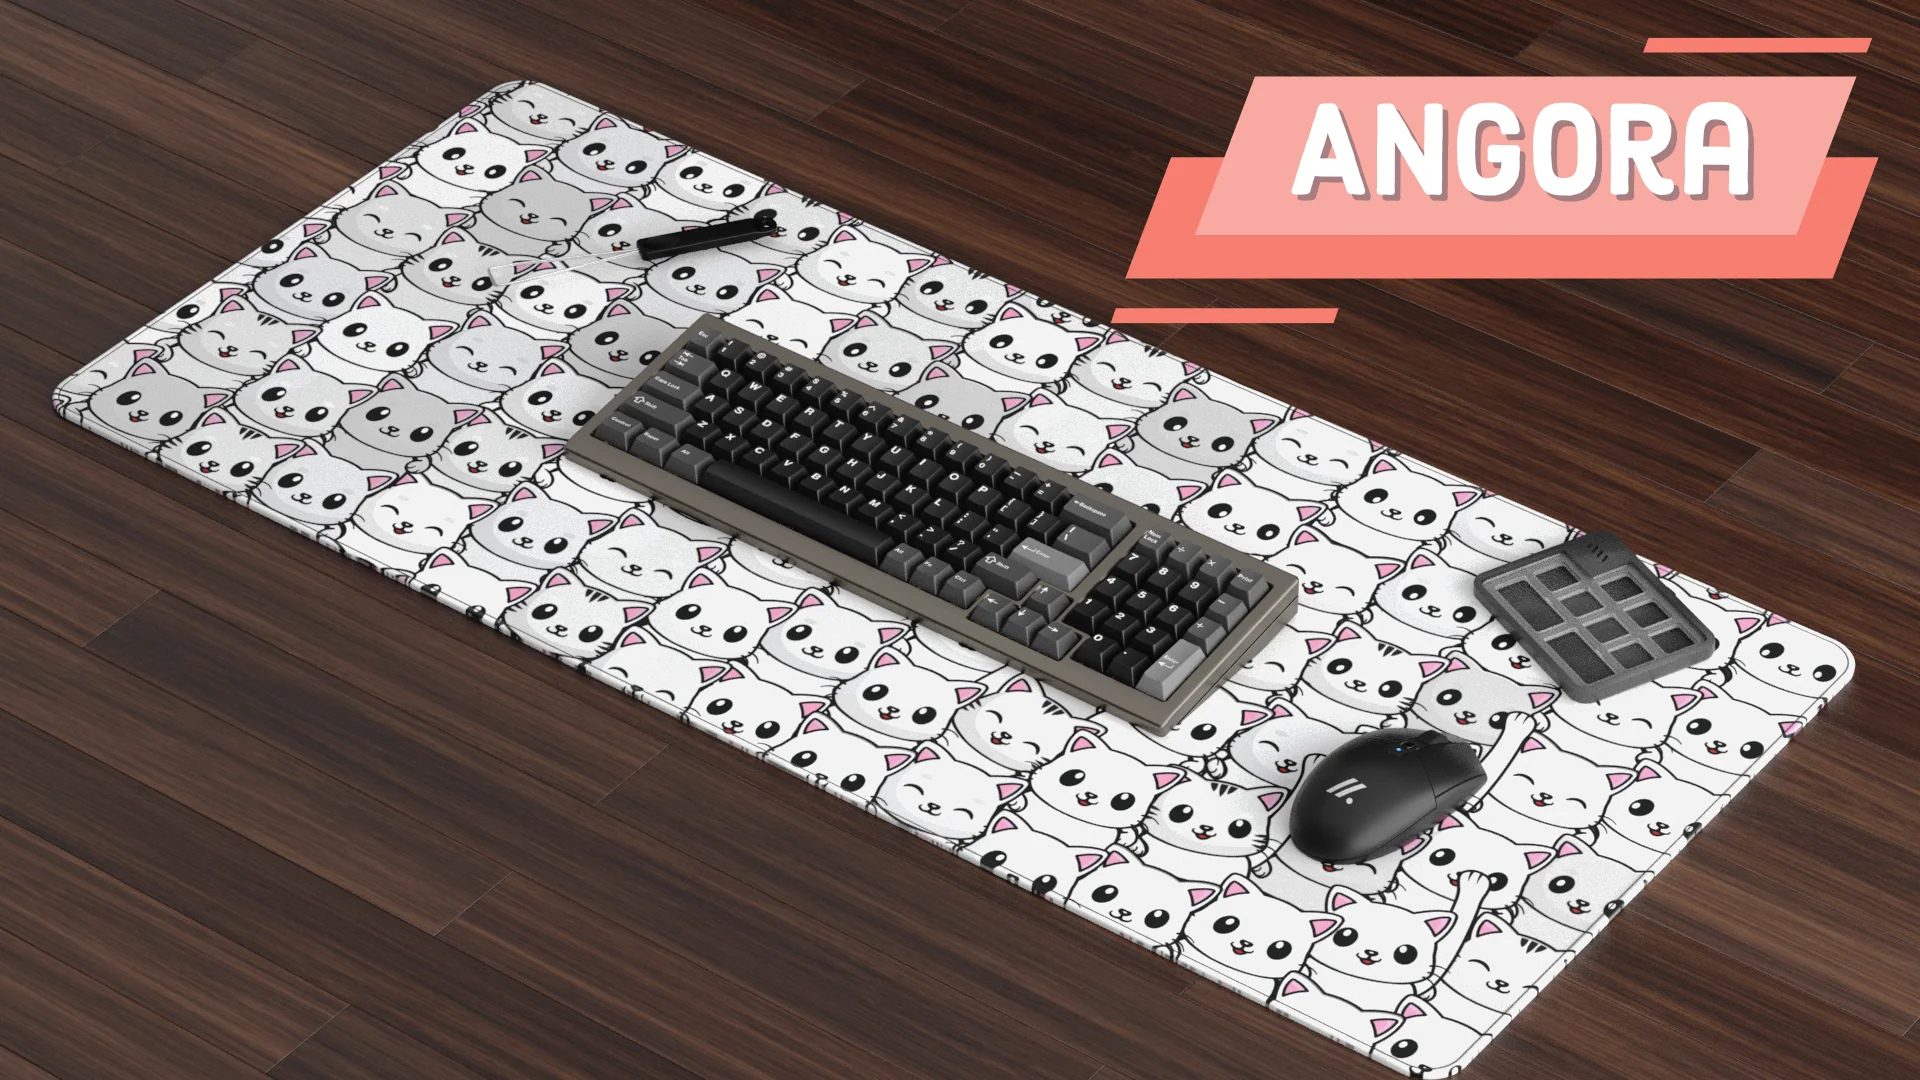
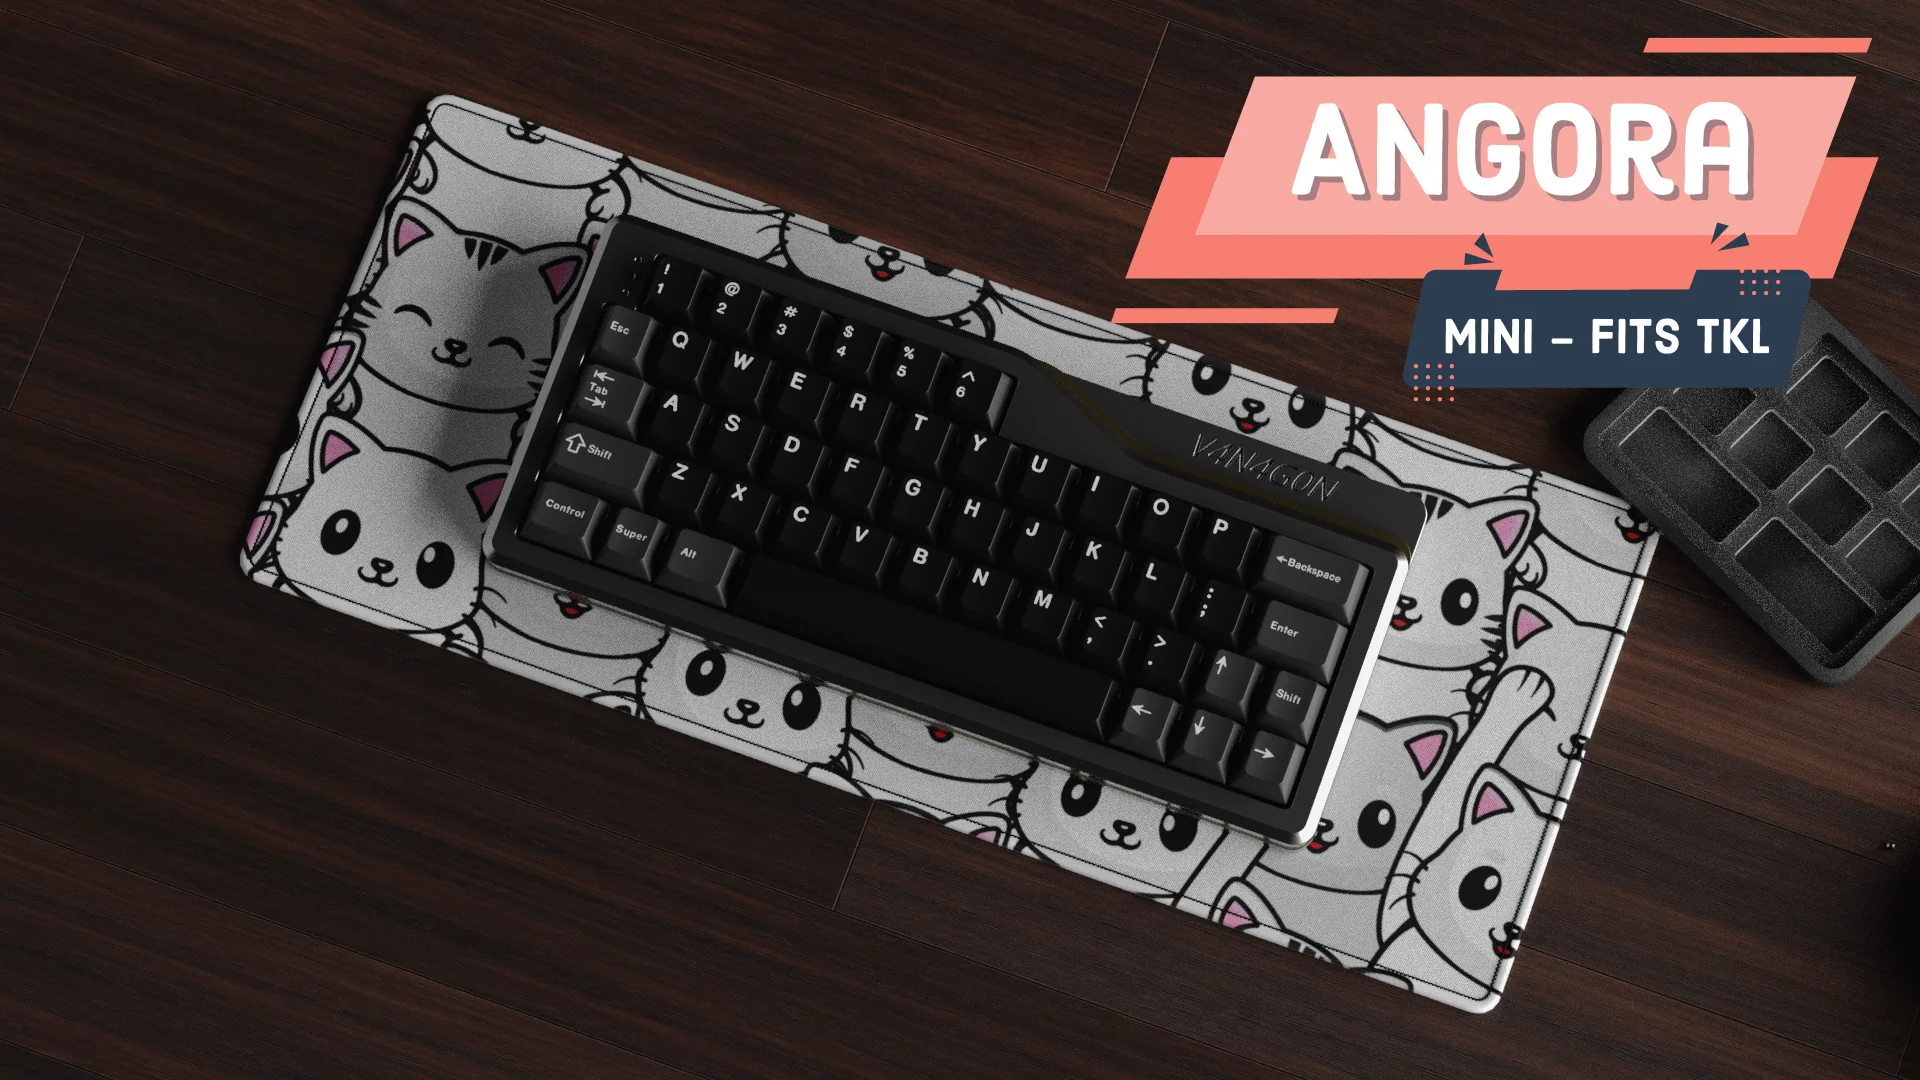
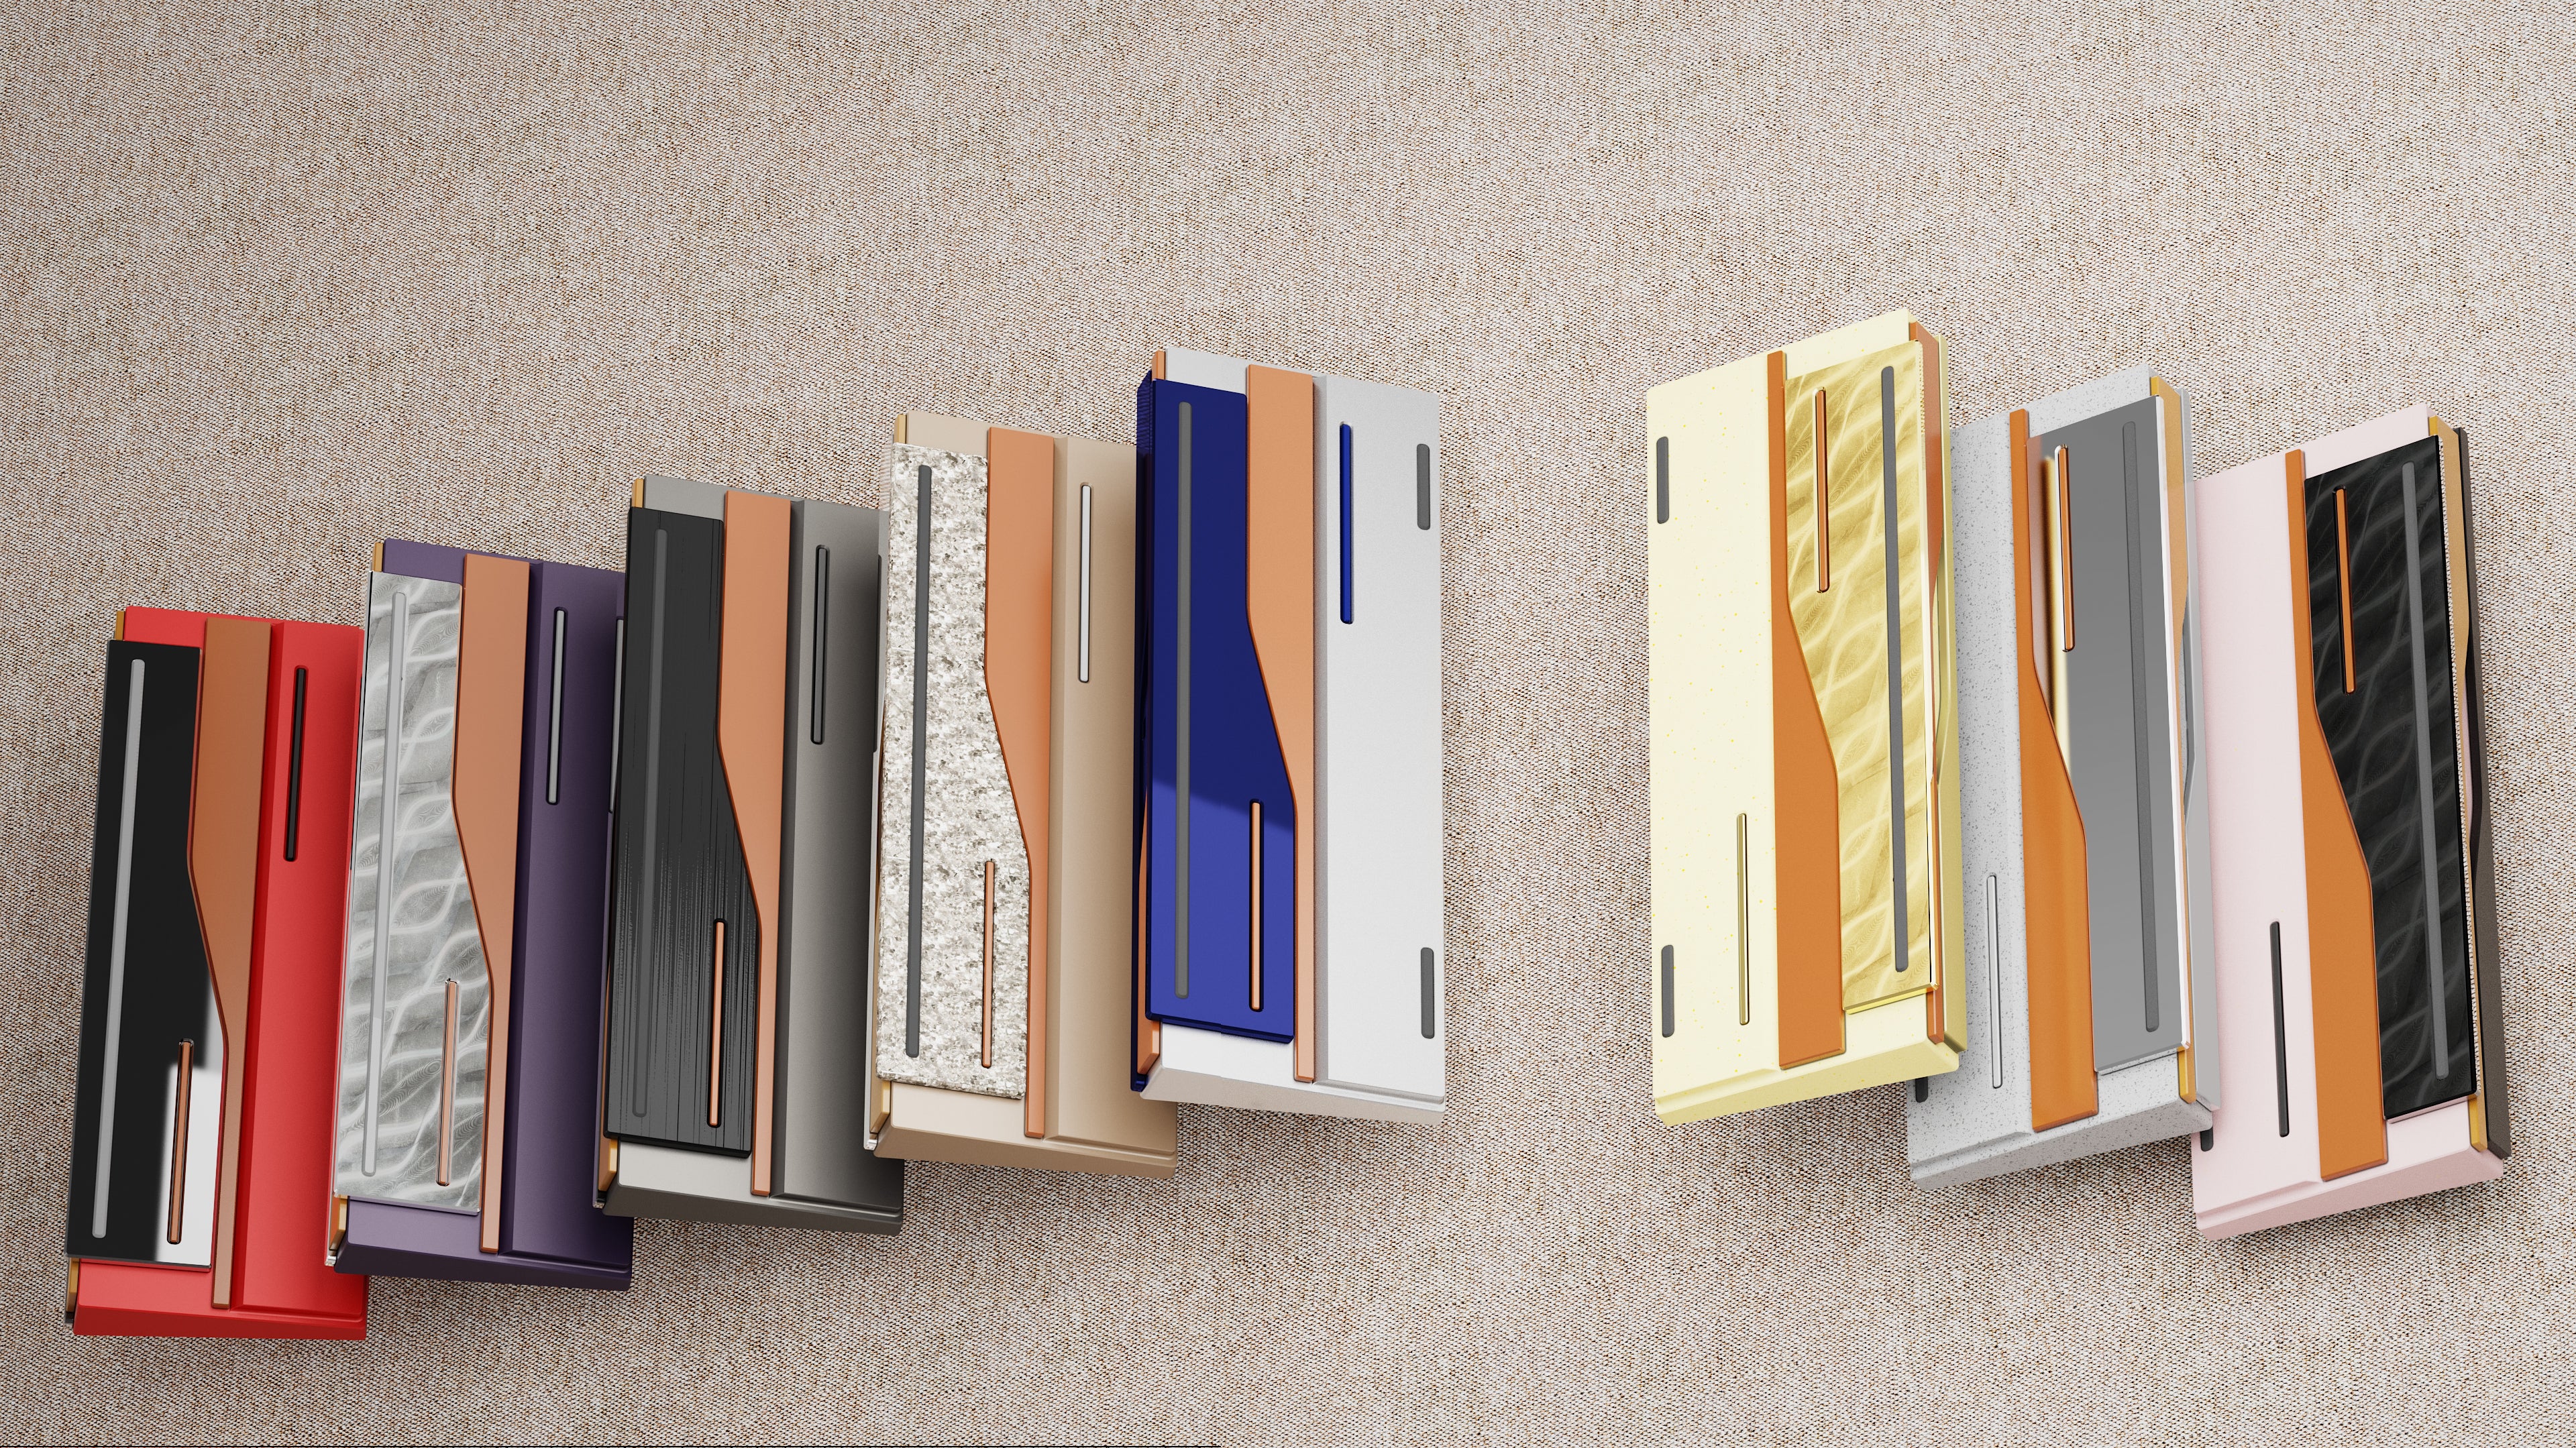
Upgarded with hotswap socket, LelePad is back! Treat yourself with a nice and easy weekend project and build your own little pocket calculator/Macropad with a customizable OLED display, per switch RGB lighting, & configurable key values.
>> Configurate your own with LELECONSOLE <<
The new LelePad forgos the through hole components and is equipped with more modern SMT components for a more reliable preformance and better compatibility.
Here comes the Hotswappable verison, Easy DIY for more Fun
What we have
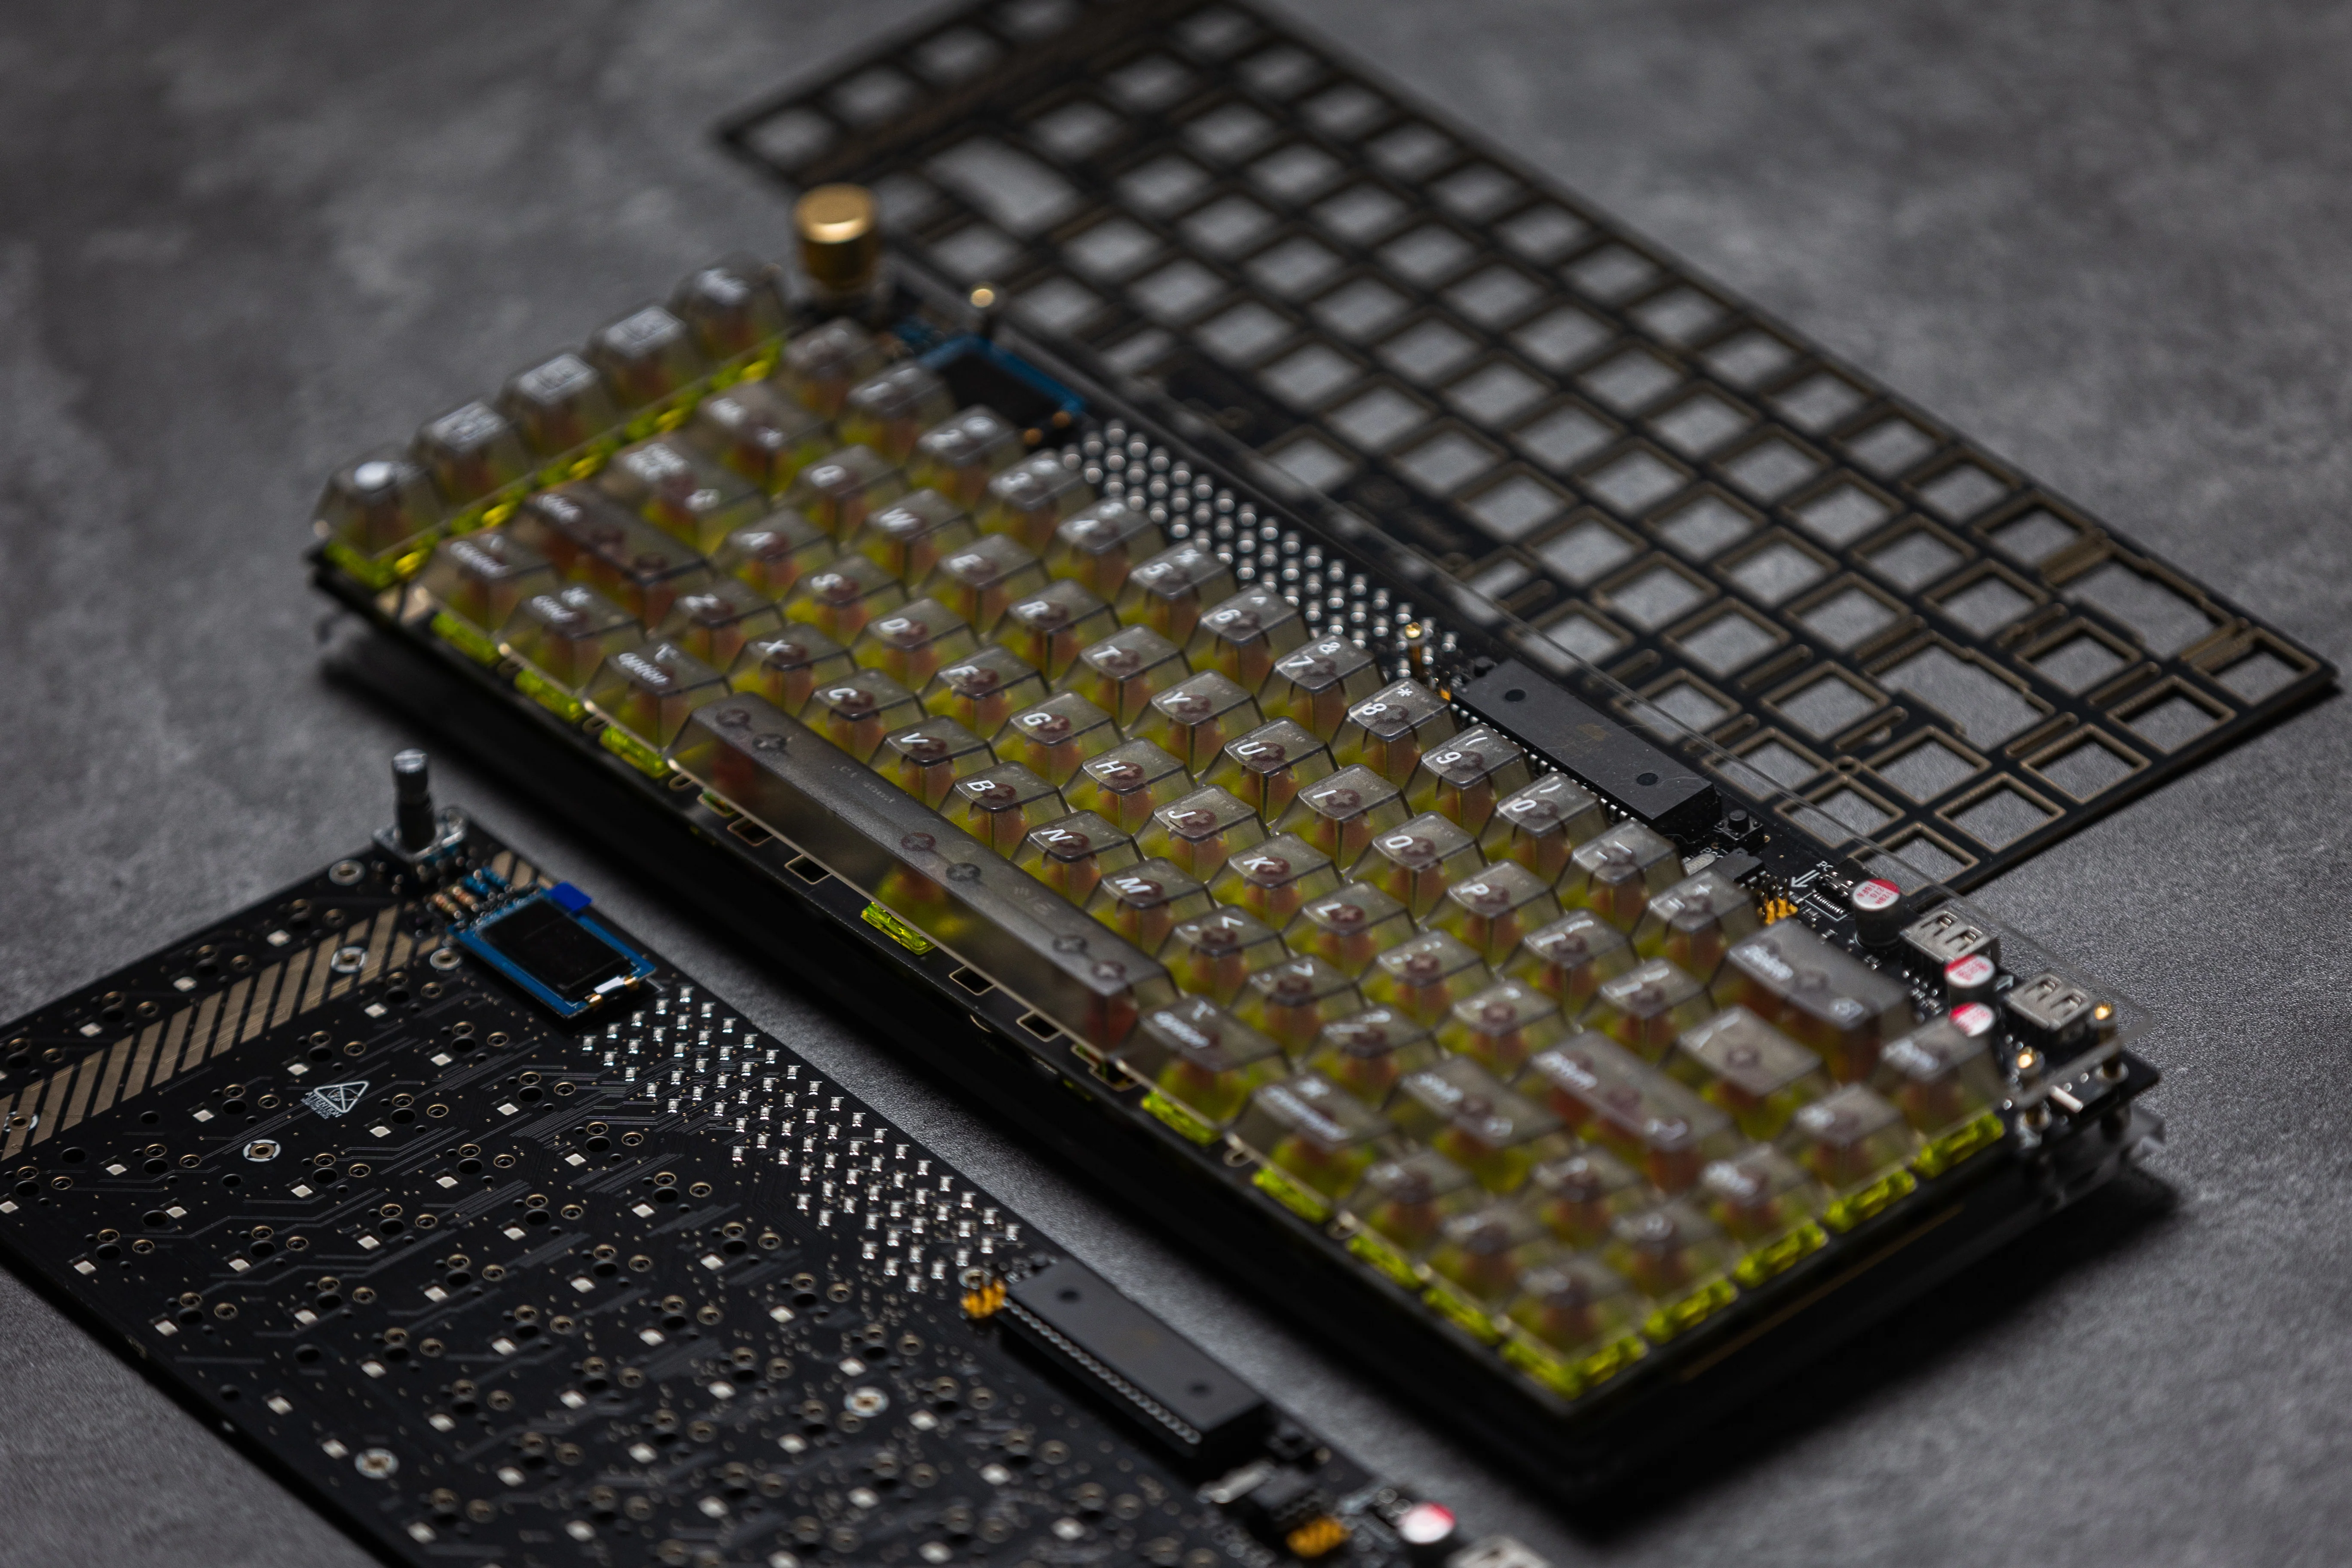
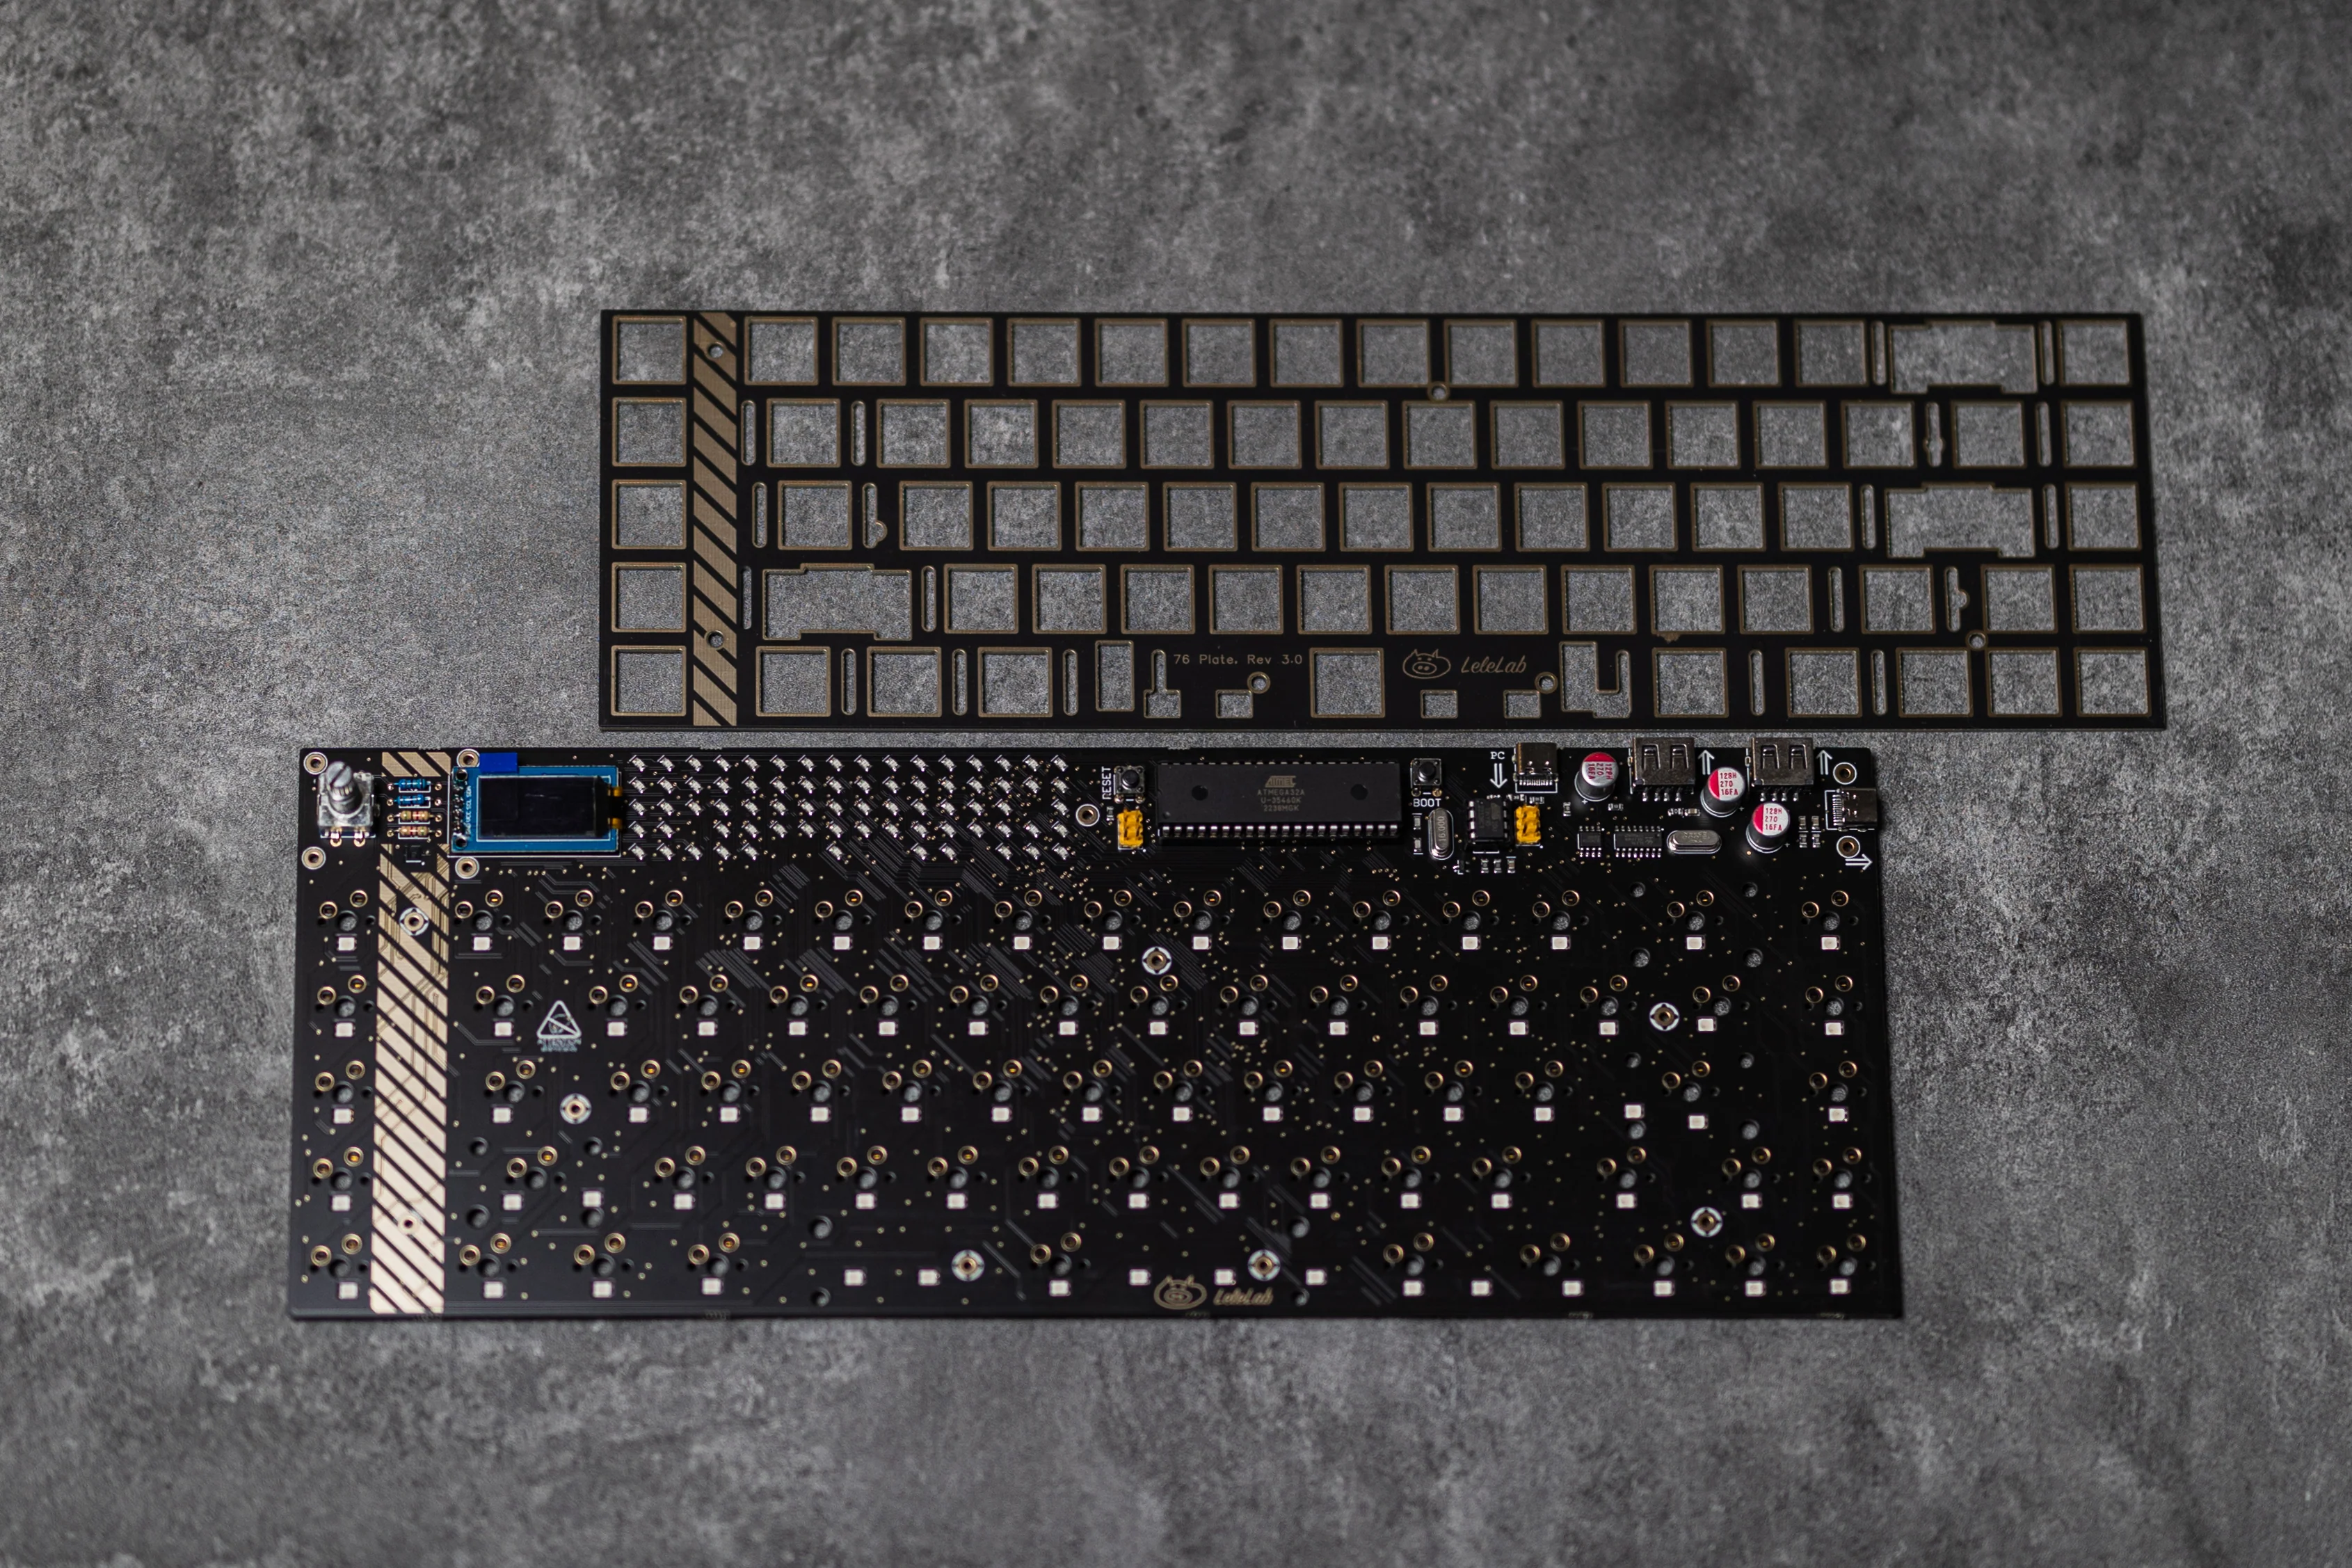
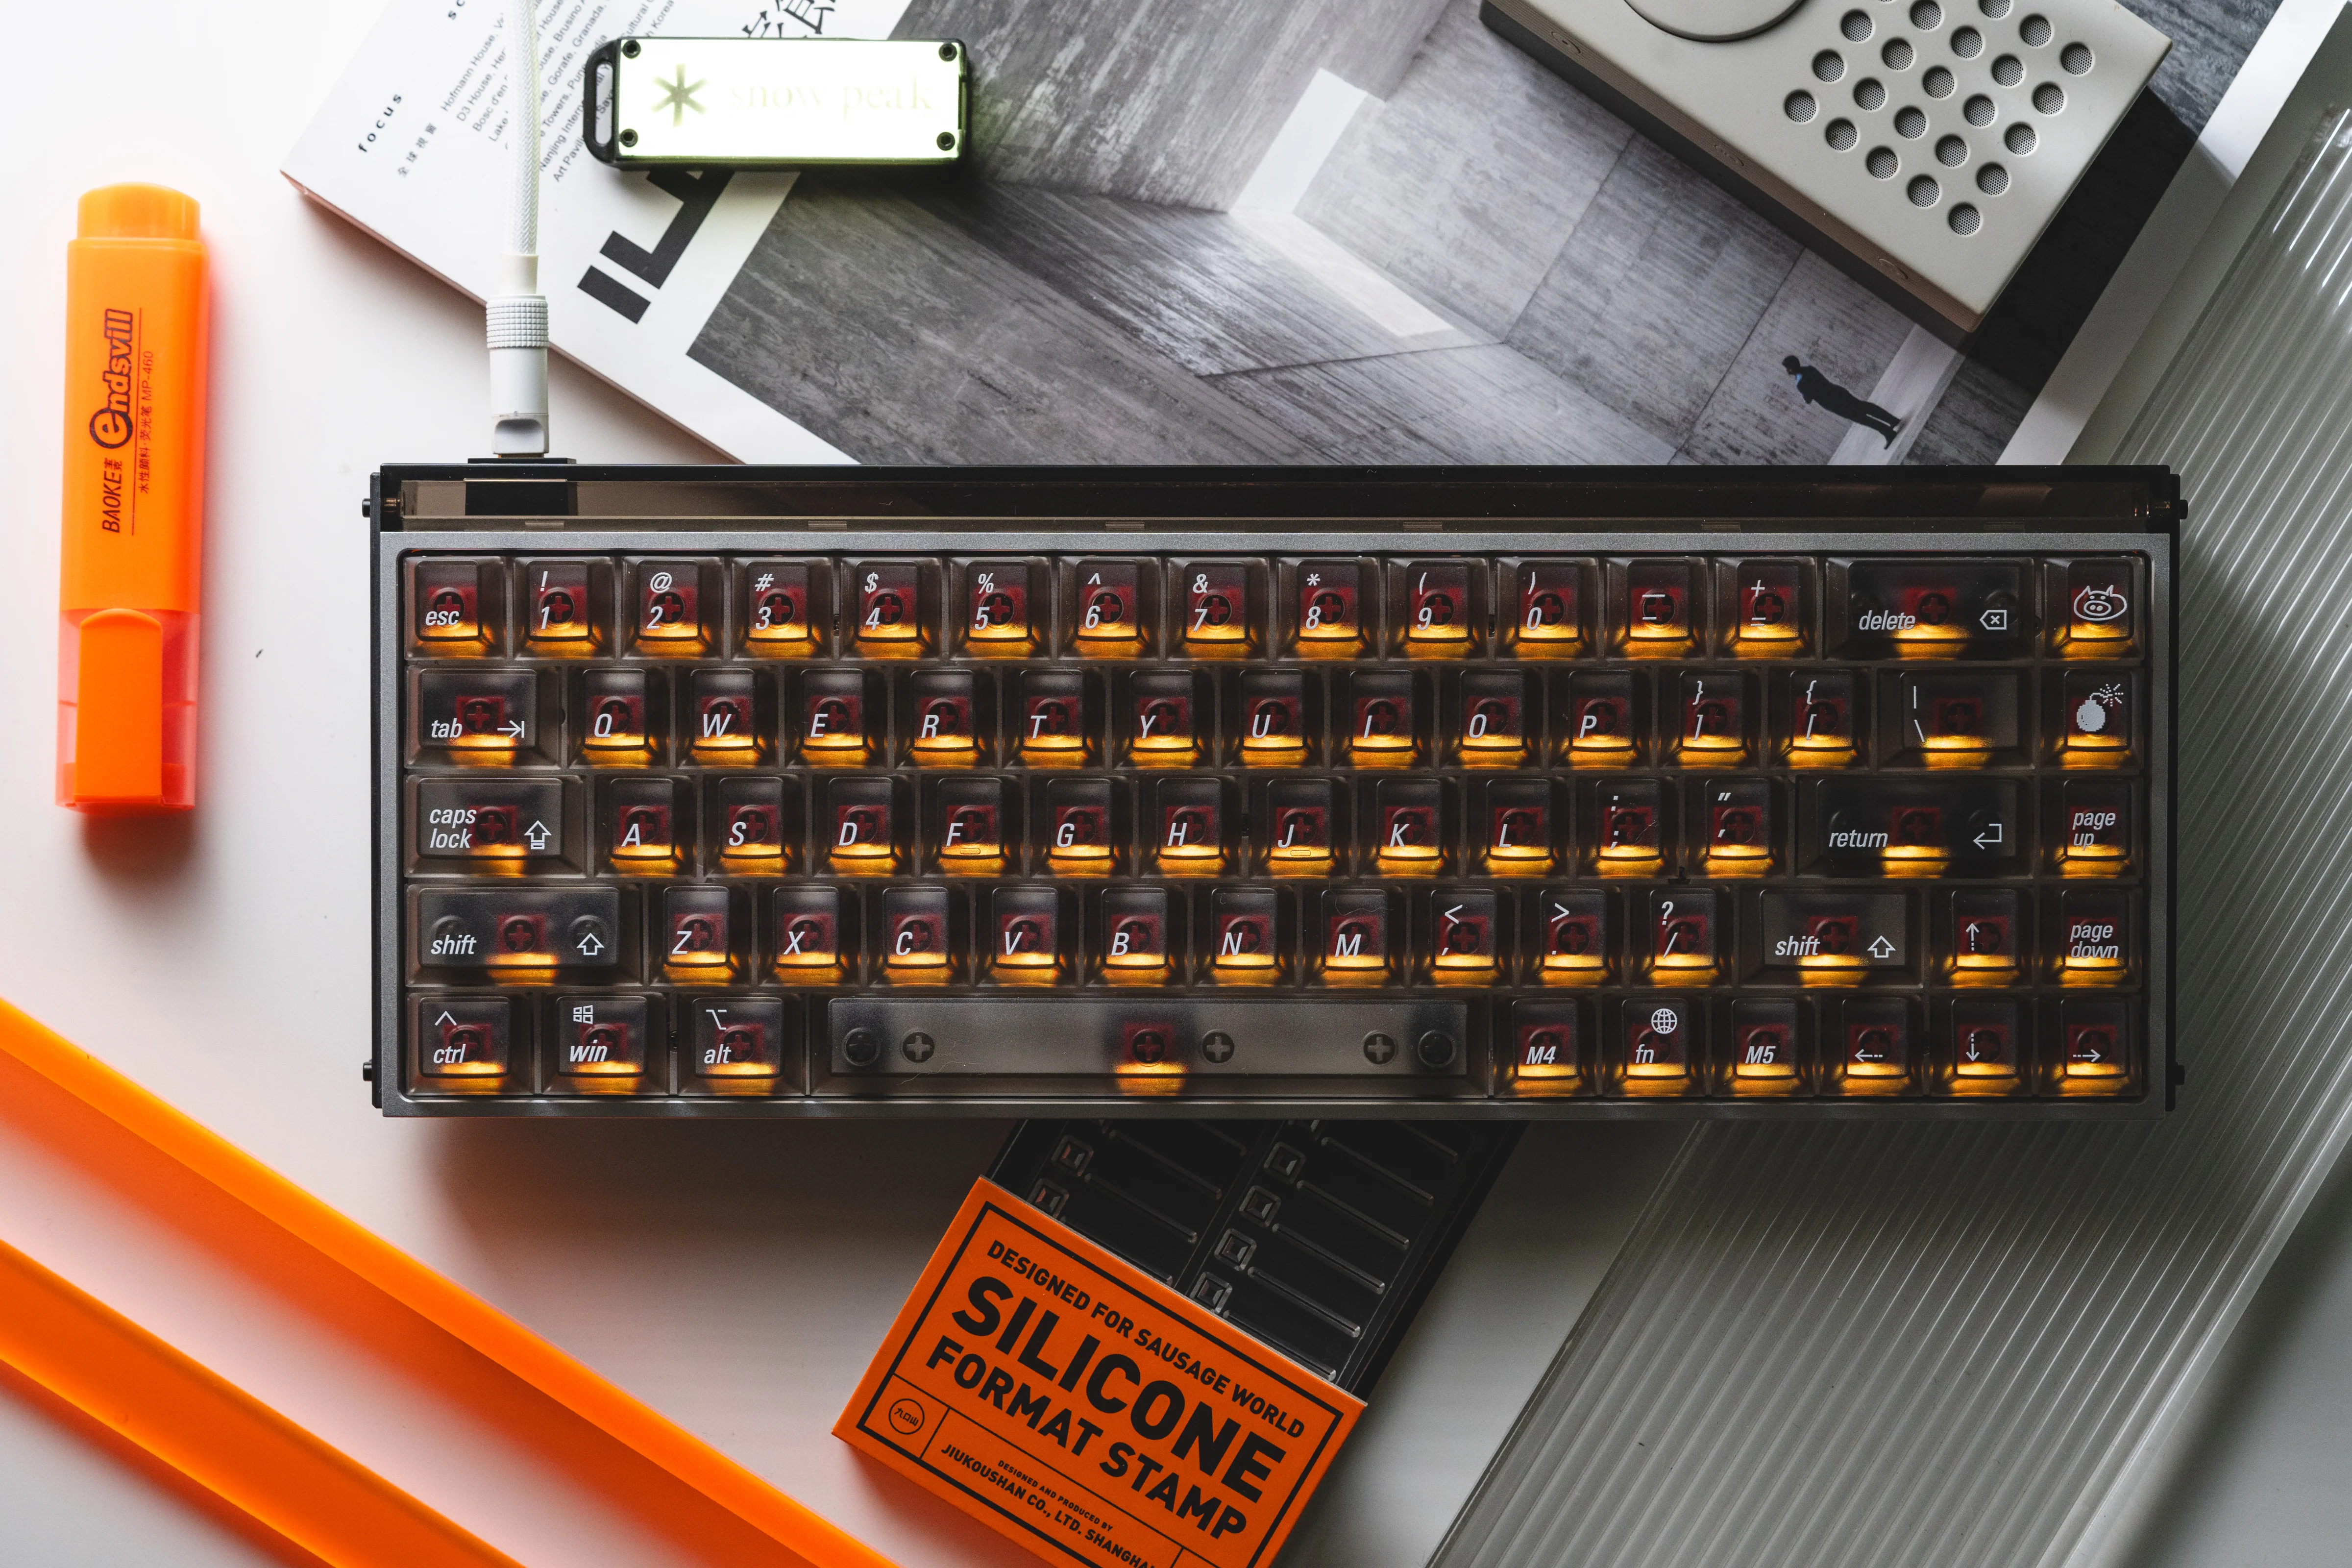
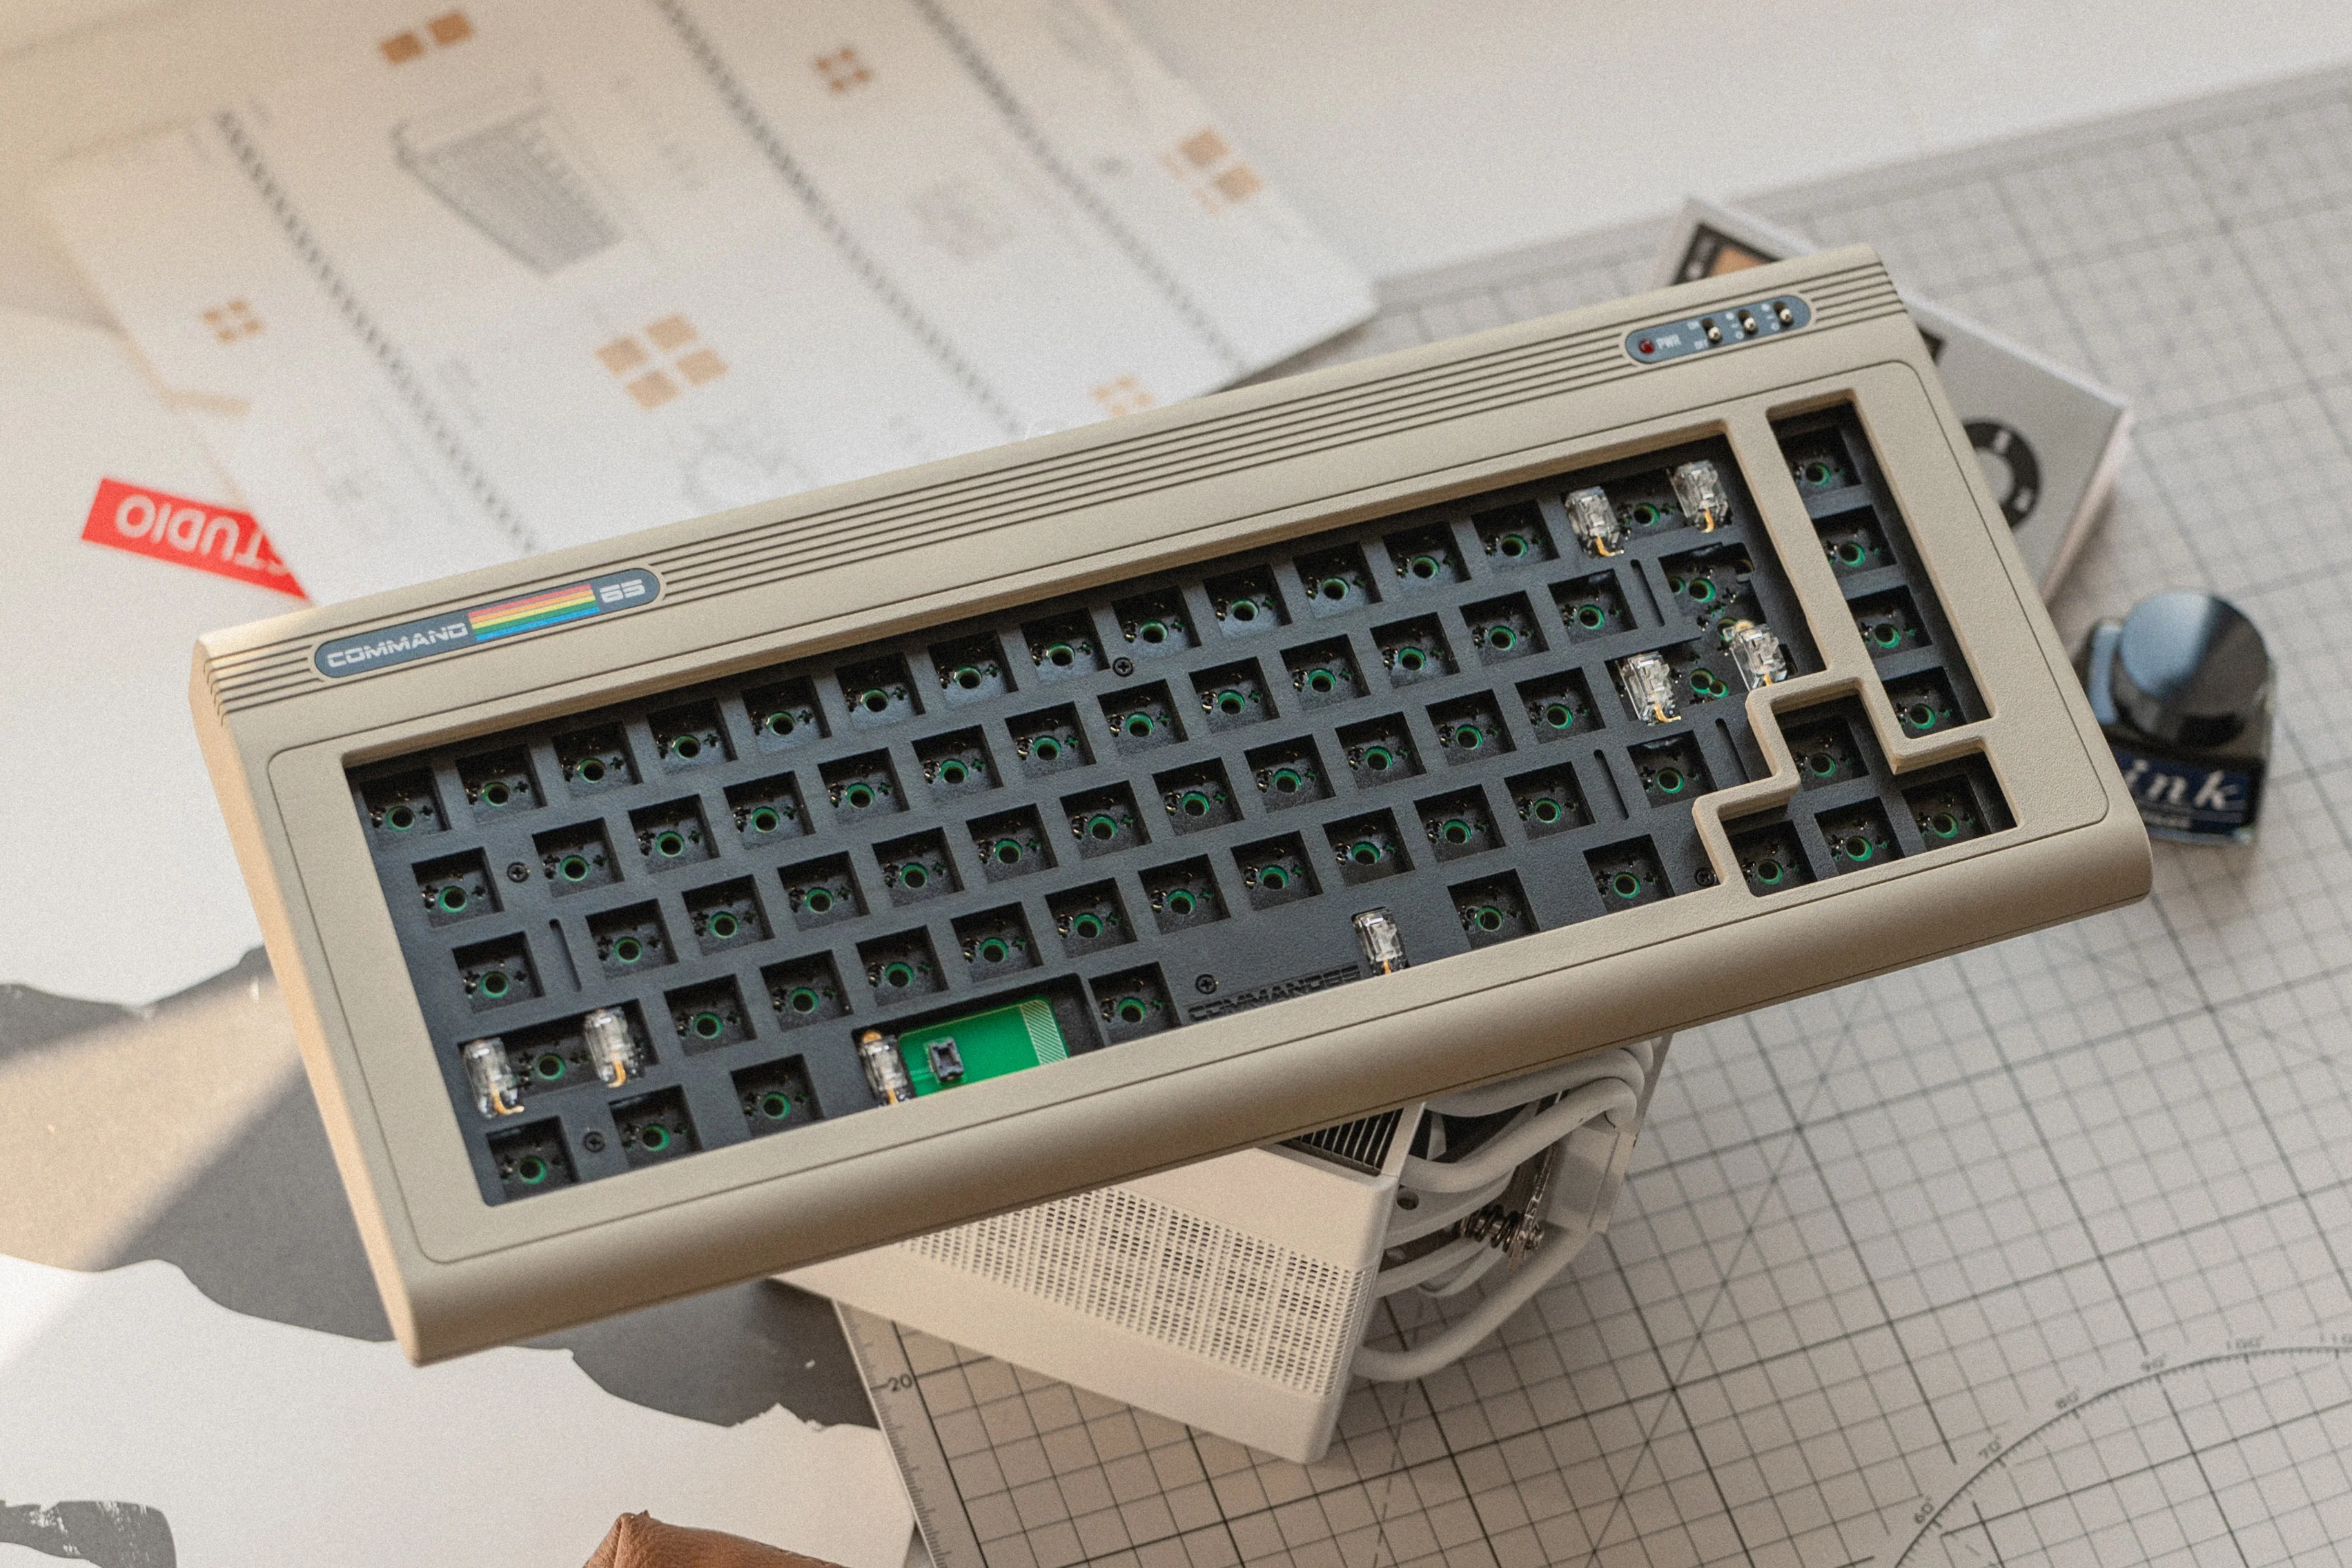
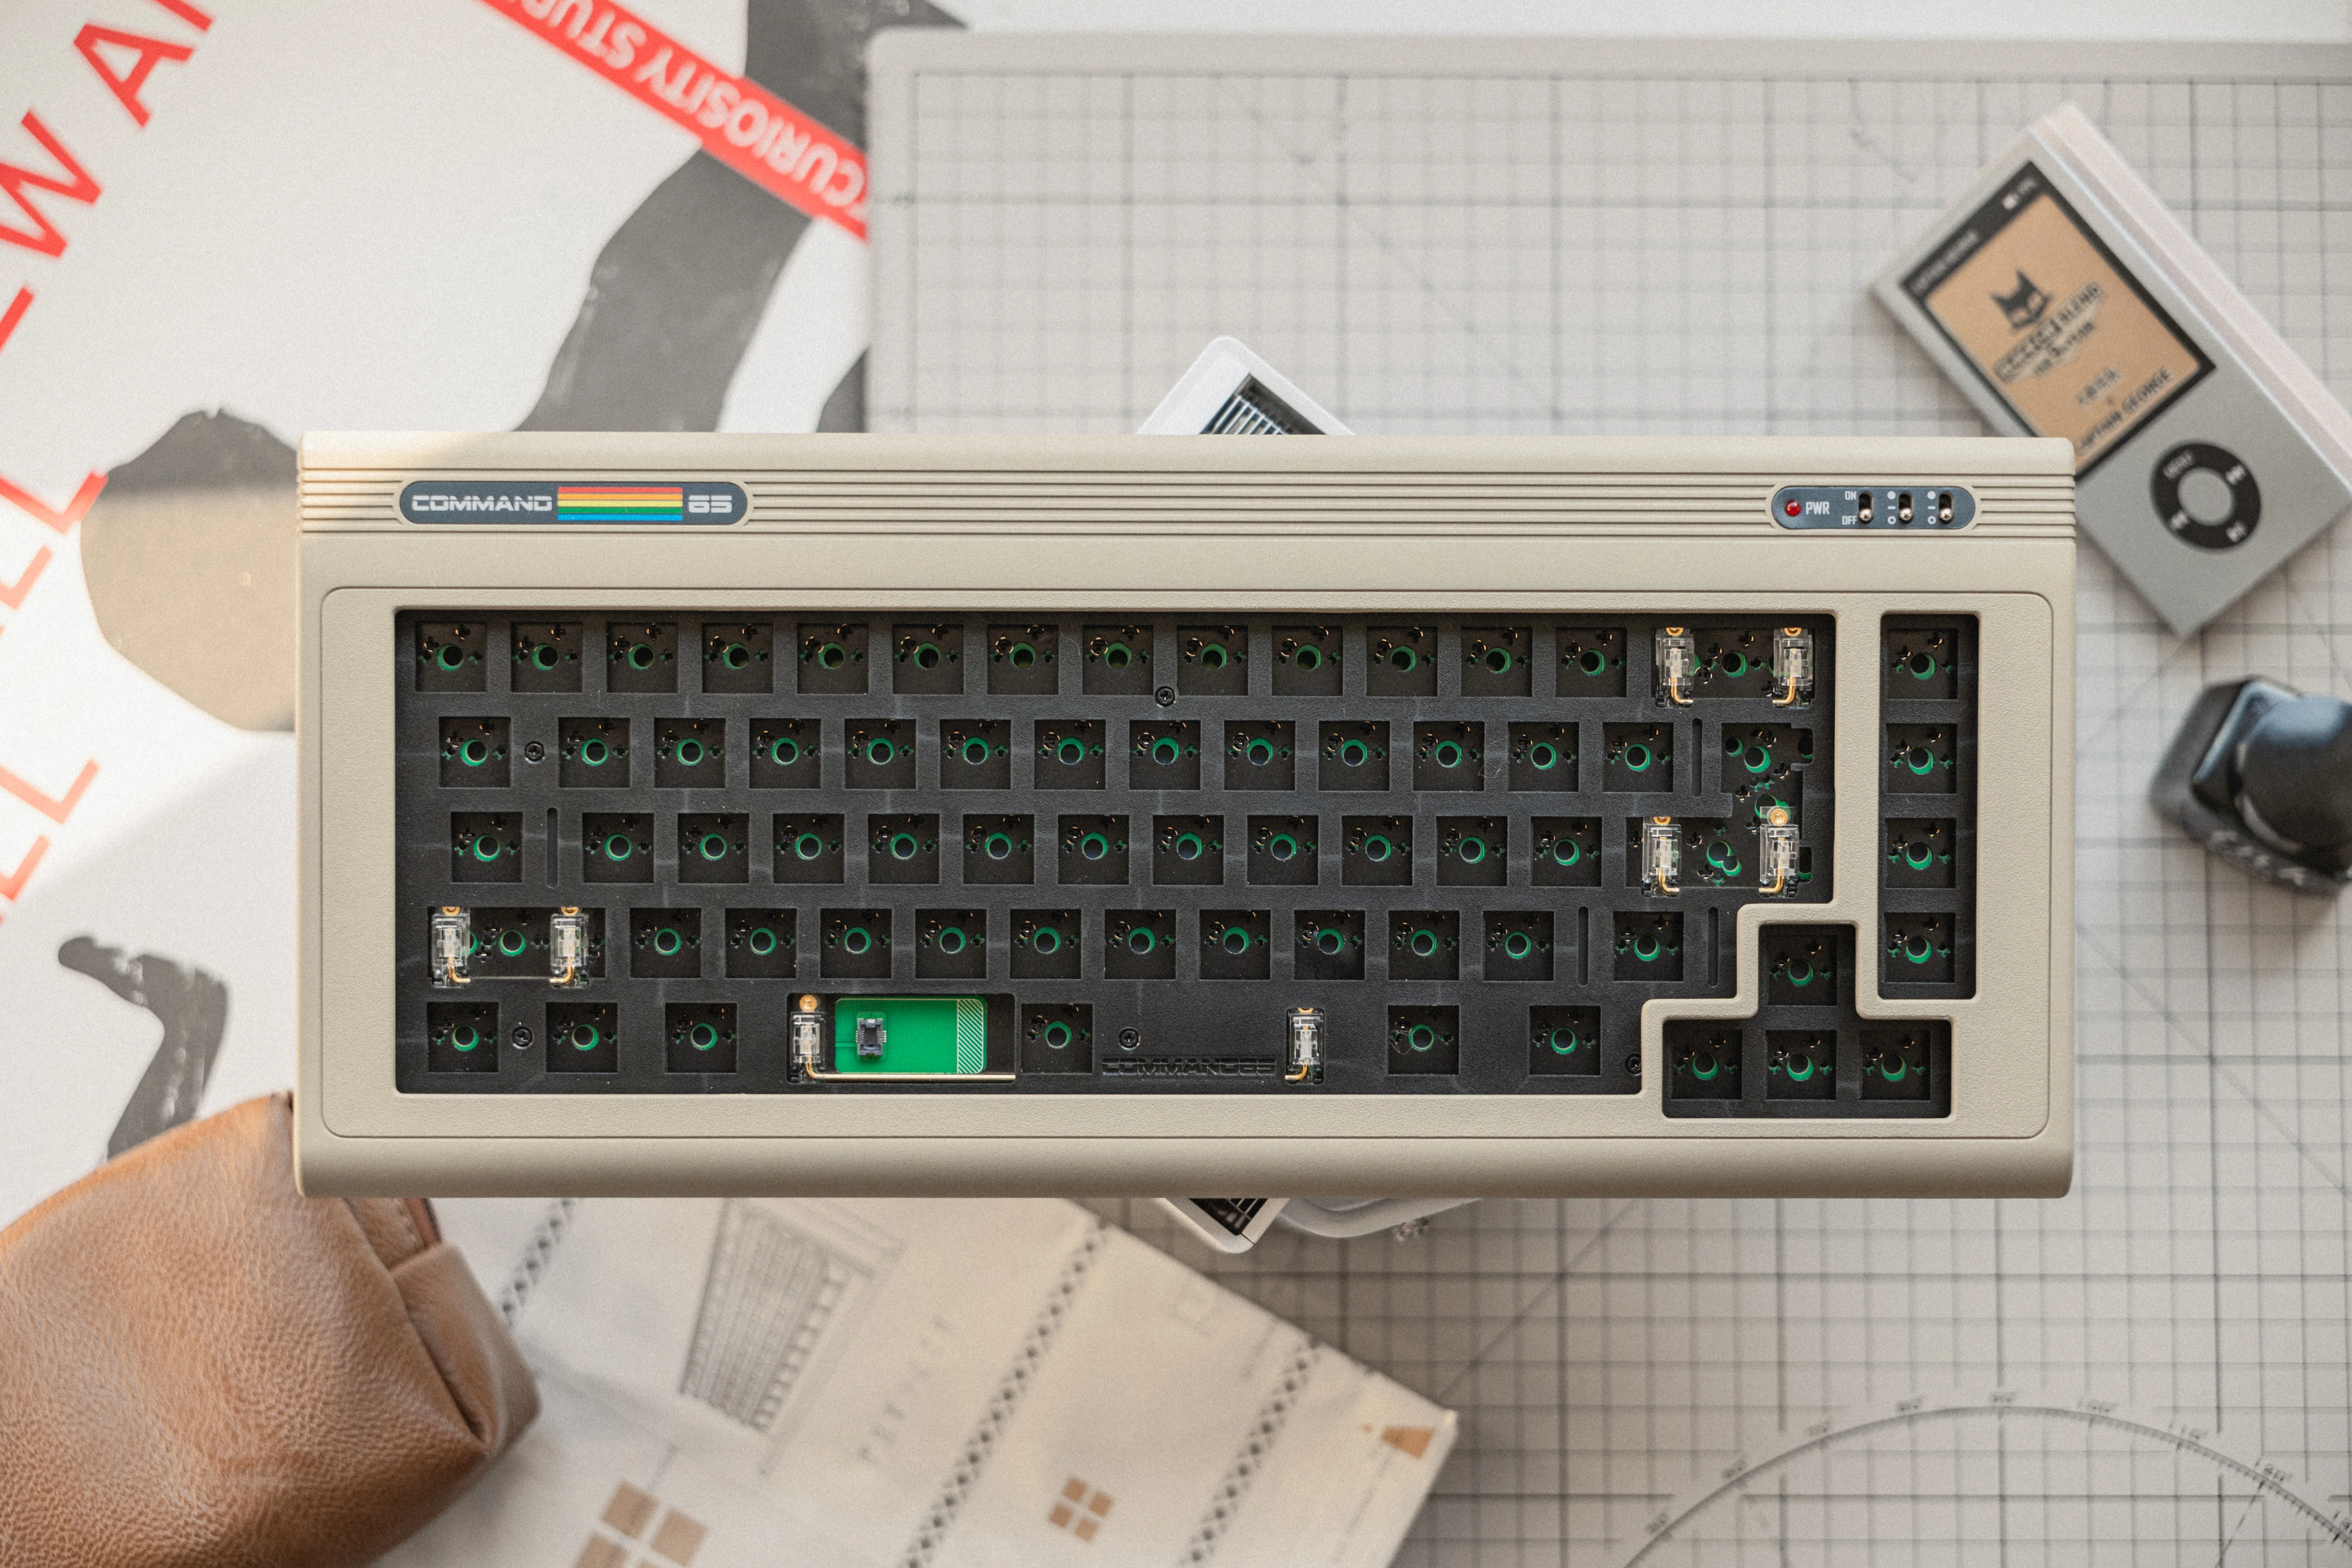
- PCB×1 ; middle Plate×1 ; bottom plate ×1
- HMX switches × 20
- Plate Mounted stabilizers × 3
- Cross screwdriver × 1
- Screws × 16
- Feet × 1
- OLED Screen
- Nylon socket × 8

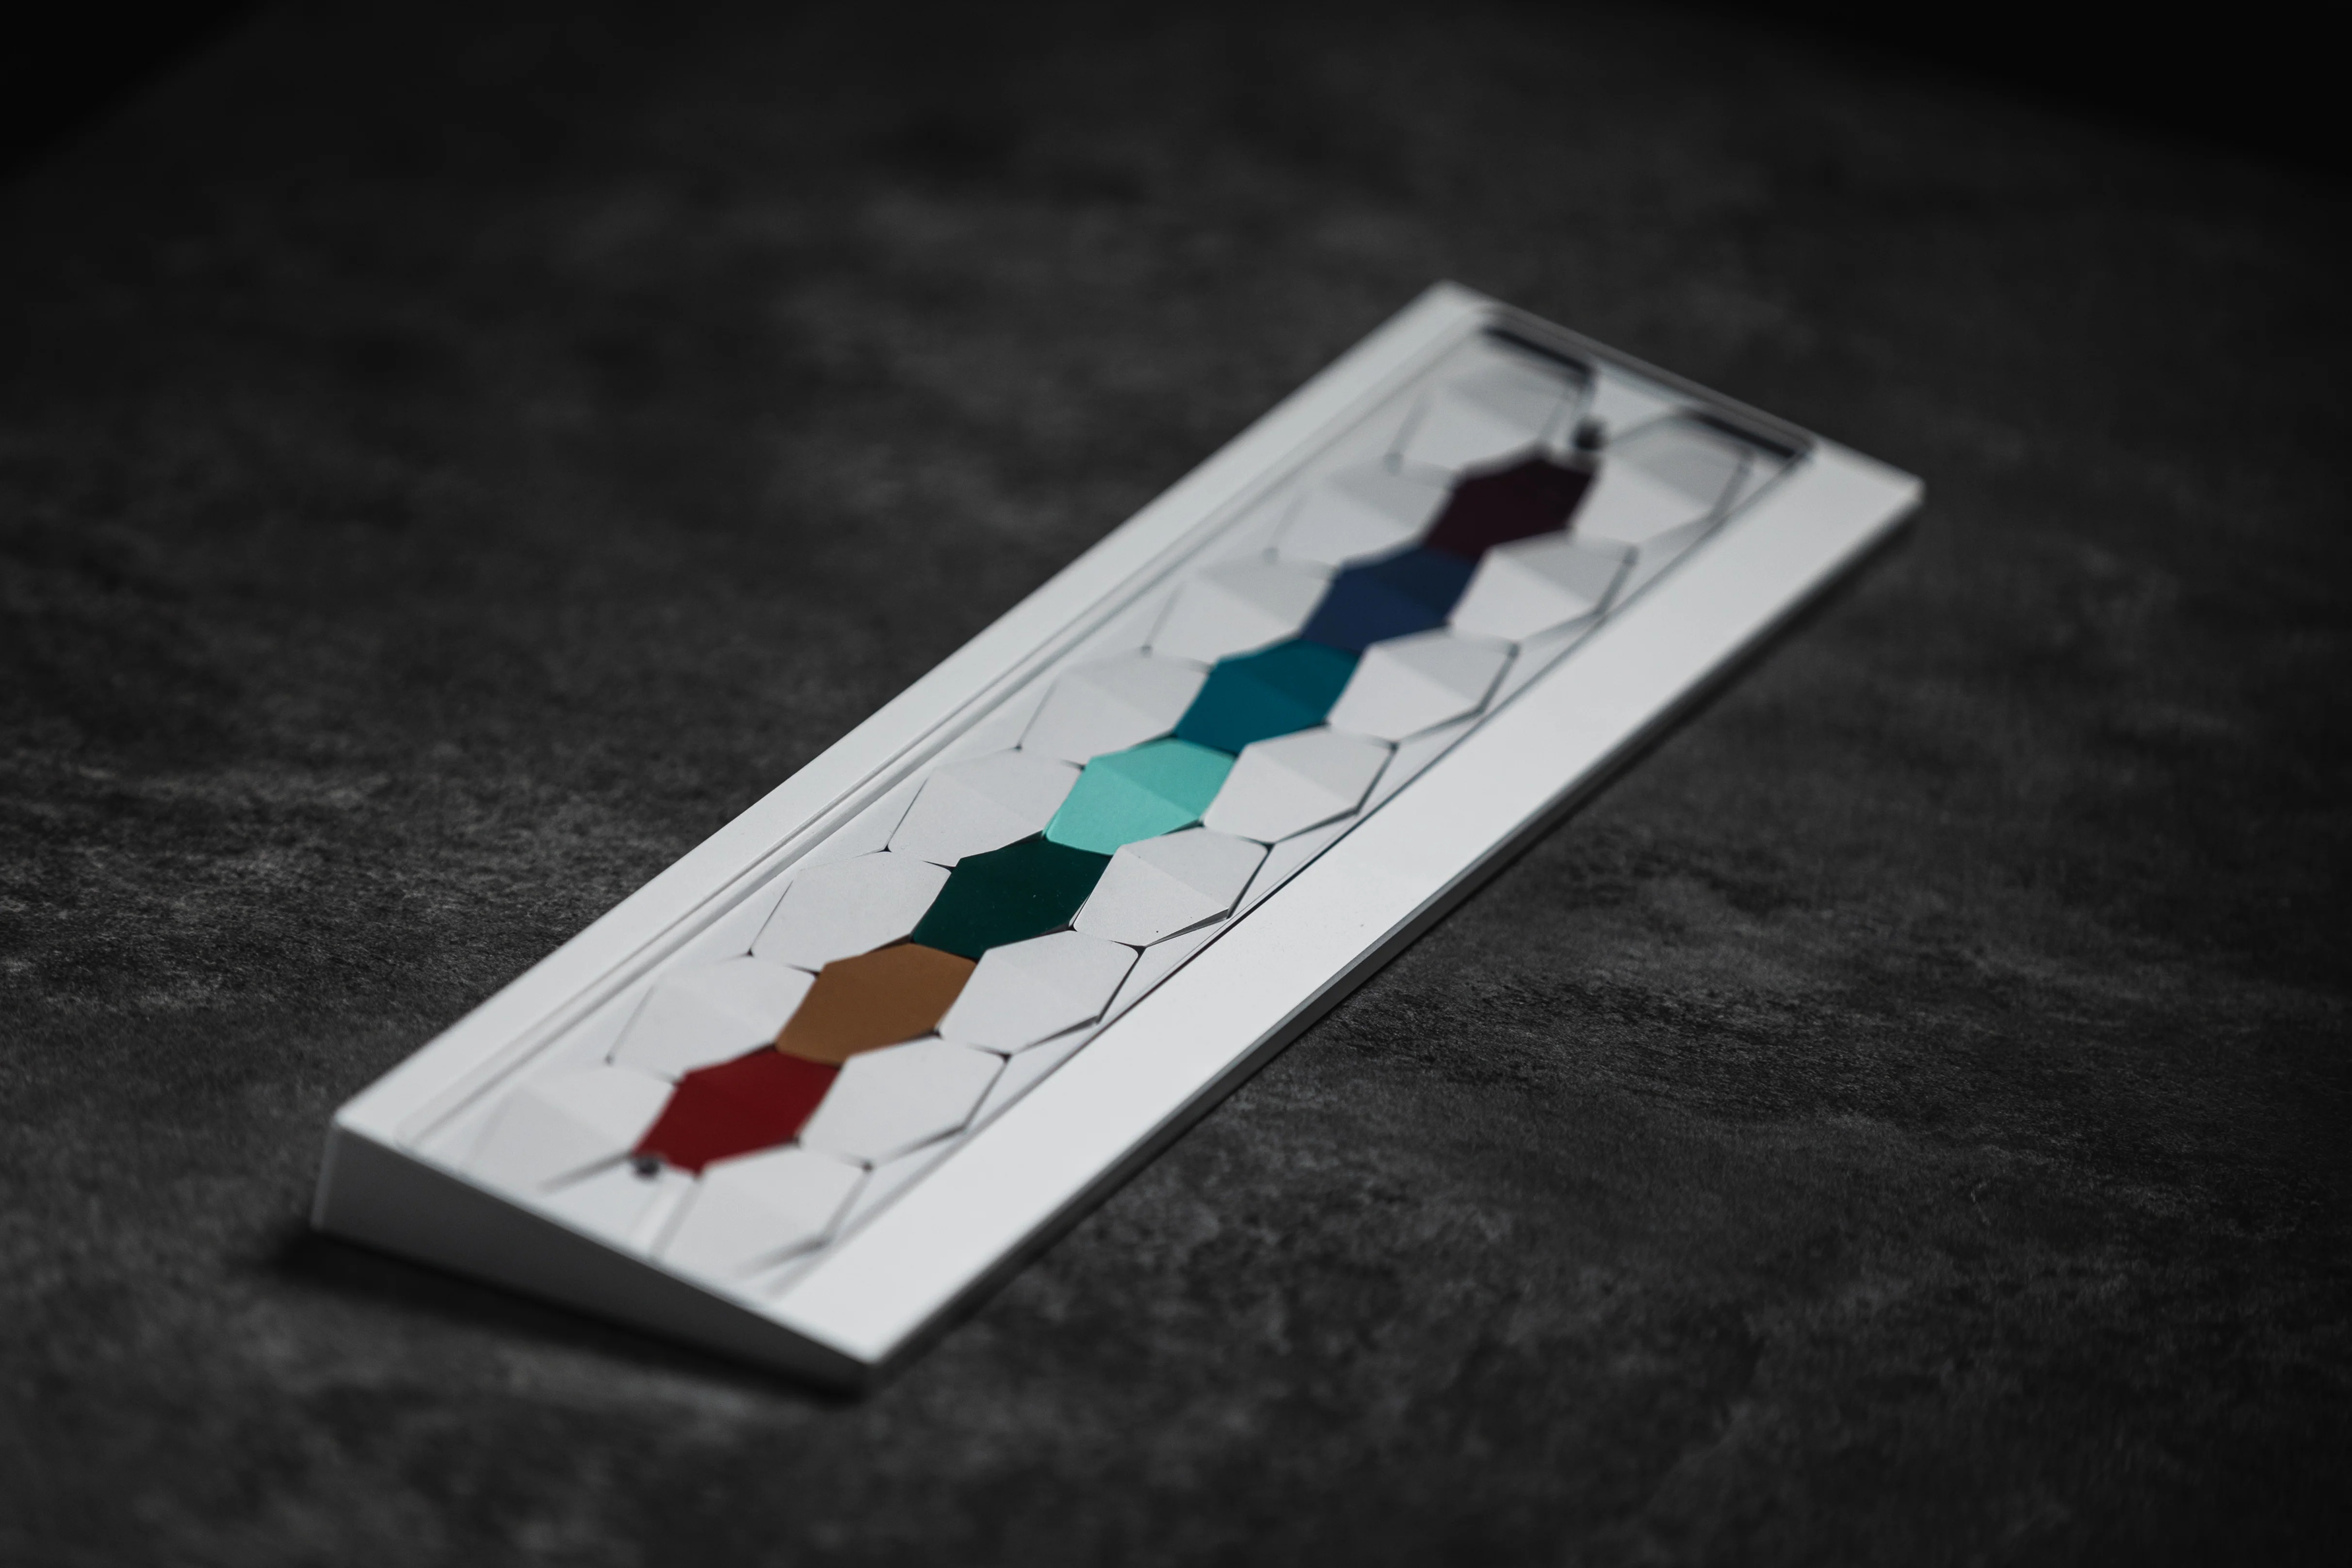
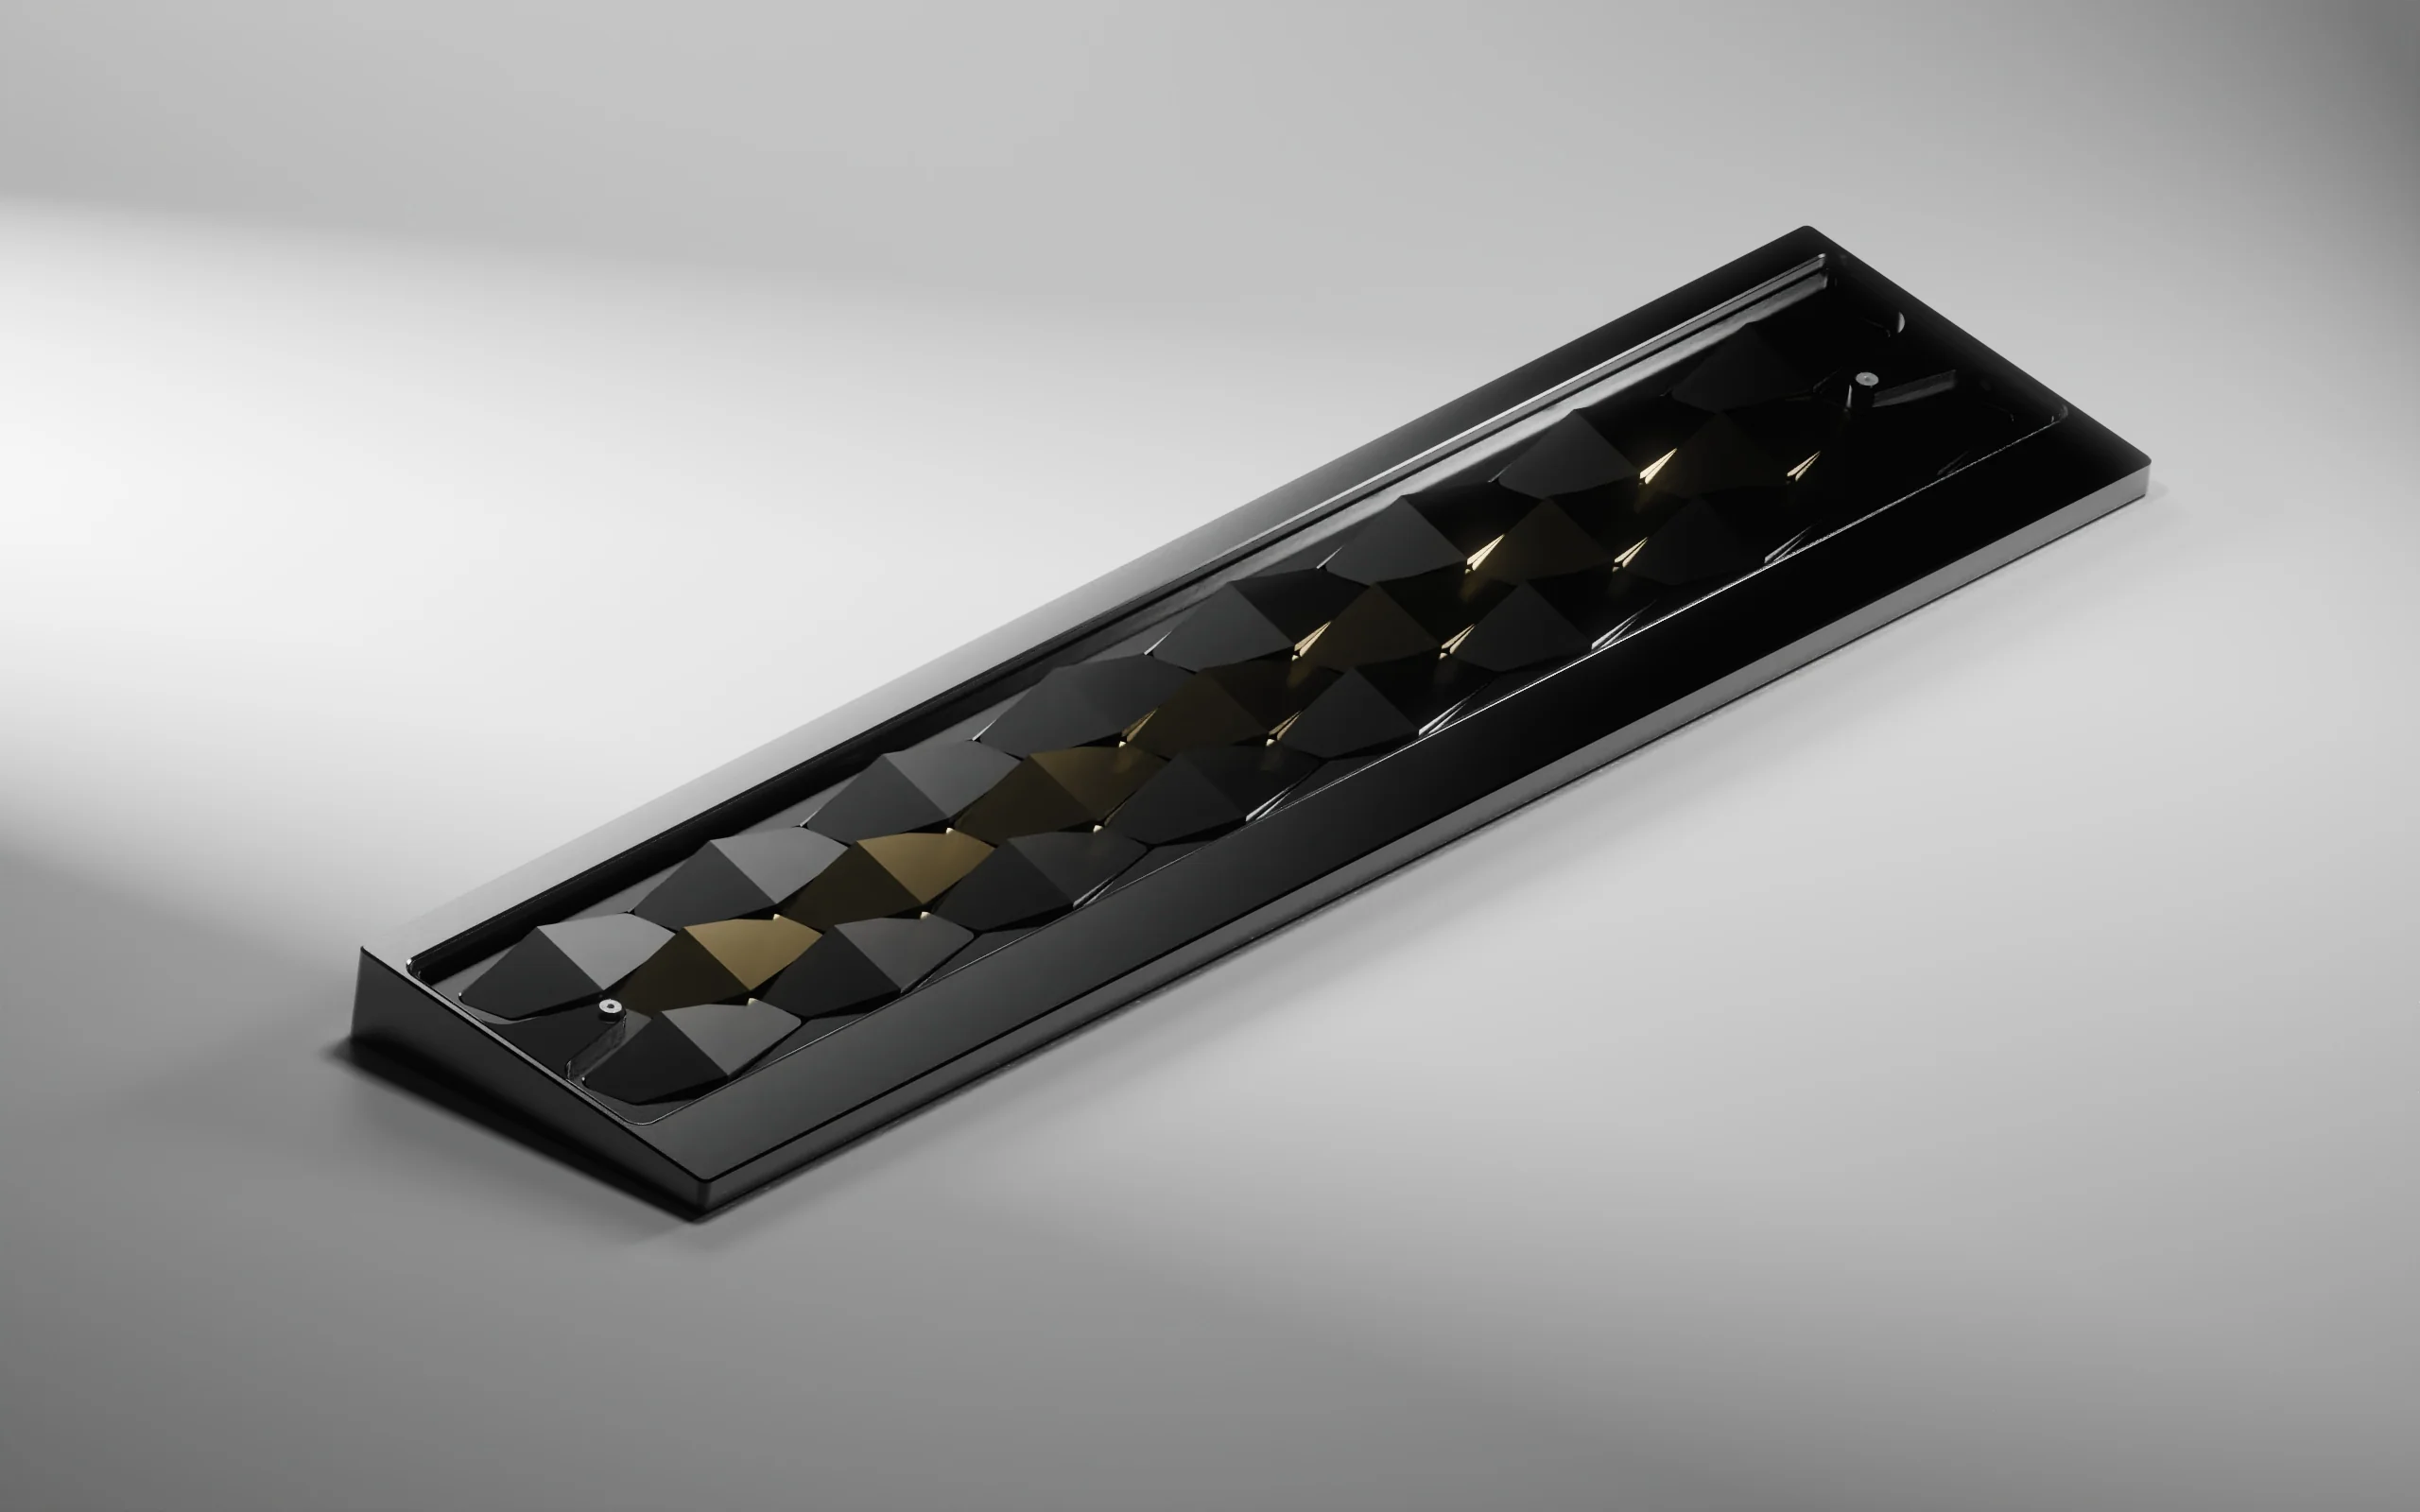
OLED Screen Showcase
Paint your own with LeleConsole

Import photos with LeleConsole

Calculator

Cat

How to assemble the LelePad?
- Separate the pcb, switch plate and bottom plate

- Use the diagonal plier to cut off the extra parts

- Install 3 pairs of the stabilizers to the switch plate

- Install several switches to the switch plate which is easy for the next step, Or you can install all the switches if you are a veteran


- Use the 4 sockets and 8 screws to connect the bottom plate with the pcb

- Use the 4 sockets and 8 screws to connect the bottom plate with the switch plate


- Put on the 4 feets, all done!

Original: $5.99
-65%$5.99
$2.10More Images
![[In Stock] Lelepad Custom Numpad/Macropad Hotswappable Keyboard - Image 2](/images/getzfrontier.shop/images/product/in-stock-lelepad-custom-numpad-macropad-keyboard-2.jpg)
![[In Stock] Lelepad Custom Numpad/Macropad Hotswappable Keyboard - Image 3](/images/getzfrontier.shop/images/product/in-stock-lelepad-custom-numpad-macropad-keyboard-3.jpg)
![[In Stock] Lelepad Custom Numpad/Macropad Hotswappable Keyboard - Image 4](/images/getzfrontier.shop/images/product/in-stock-lelepad-custom-numpad-macropad-keyboard-4.jpg)
![[In Stock] Lelepad Custom Numpad/Macropad Hotswappable Keyboard - Image 5](/images/getzfrontier.shop/images/product/in-stock-lelepad-custom-numpad-macropad-keyboard-5.jpg)
![[In Stock] Lelepad Custom Numpad/Macropad Hotswappable Keyboard - Image 6](/images/getzfrontier.shop/images/product/in-stock-lelepad-custom-numpad-macropad-keyboard-6.jpg)
![[In Stock] Lelepad Custom Numpad/Macropad Hotswappable Keyboard - Image 7](/images/getzfrontier.shop/images/product/in-stock-lelepad-custom-numpad-macropad-keyboard-7.jpg)
![[In Stock] Lelepad Custom Numpad/Macropad Hotswappable Keyboard - Image 8](/images/getzfrontier.shop/images/product/in-stock-lelepad-custom-numpad-macropad-keyboard-8.jpg)
![[In Stock] Lelepad Custom Numpad/Macropad Hotswappable Keyboard - Image 9](/images/getzfrontier.shop/images/product/in-stock-lelepad-custom-numpad-macropad-keyboard-9.jpg)
![[In Stock] Lelepad Custom Numpad/Macropad Hotswappable Keyboard - Image 10](/images/getzfrontier.shop/images/product/in-stock-lelepad-custom-numpad-macropad-keyboard-10.jpg)
![[In Stock] Lelepad Custom Numpad/Macropad Hotswappable Keyboard - Image 11](/images/getzfrontier.shop/images/product/in-stock-lelepad-custom-numpad-macropad-keyboard-11.jpg)
![[In Stock] Lelepad Custom Numpad/Macropad Hotswappable Keyboard - Image 12](/images/getzfrontier.shop/images/product/in-stock-lelepad-custom-numpad-macropad-keyboard-12.jpg)
![[In Stock] Lelepad Custom Numpad/Macropad Hotswappable Keyboard - Image 13](/images/getzfrontier.shop/images/product/in-stock-lelepad-custom-numpad-macropad-keyboard-13.jpg)
![[In Stock] Lelepad Custom Numpad/Macropad Hotswappable Keyboard - Image 14](/images/getzfrontier.shop/images/product/in-stock-lelepad-custom-numpad-macropad-keyboard-14.jpg)
![[In Stock] Lelepad Custom Numpad/Macropad Hotswappable Keyboard - Image 15](/images/getzfrontier.shop/images/product/in-stock-lelepad-custom-numpad-macropad-keyboard-15.jpg)
[In Stock] Lelepad Custom Numpad/Macropad Hotswappable Keyboard
LelePad Custom Numpad/Macropad Hotswappable Keyboard Kit
by Lelelab
Upgarded with hotswap socket, LelePad is back! Treat yourself with a nice and easy weekend project and build your own little pocket calculator/Macropad with a customizable OLED display, per switch RGB lighting, & configurable key values.
>> Configurate your own with LELECONSOLE <<
The new LelePad forgos the through hole components and is equipped with more modern SMT components for a more reliable preformance and better compatibility.
Here comes the Hotswappable verison, Easy DIY for more Fun
What we have
- PCB×1 ; middle Plate×1 ; bottom plate ×1
- HMX switches × 20
- Plate Mounted stabilizers × 3
- Cross screwdriver × 1
- Screws × 16
- Feet × 1
- OLED Screen
- Nylon socket × 8
OLED Screen Showcase
Paint your own with LeleConsole
Import photos with LeleConsole
Calculator
Cat
How to assemble the LelePad?
- Separate the pcb, switch plate and bottom plate
- Use the diagonal plier to cut off the extra parts
- Install 3 pairs of the stabilizers to the switch plate
- Install several switches to the switch plate which is easy for the next step, Or you can install all the switches if you are a veteran
- Use the 4 sockets and 8 screws to connect the bottom plate with the pcb
- Use the 4 sockets and 8 screws to connect the bottom plate with the switch plate
- Put on the 4 feets, all done!
Product Information
Product Information
Shipping & Returns
Shipping & Returns
Description
LelePad Custom Numpad/Macropad Hotswappable Keyboard Kit
by Lelelab
Upgarded with hotswap socket, LelePad is back! Treat yourself with a nice and easy weekend project and build your own little pocket calculator/Macropad with a customizable OLED display, per switch RGB lighting, & configurable key values.
>> Configurate your own with LELECONSOLE <<
The new LelePad forgos the through hole components and is equipped with more modern SMT components for a more reliable preformance and better compatibility.
Here comes the Hotswappable verison, Easy DIY for more Fun
What we have
- PCB×1 ; middle Plate×1 ; bottom plate ×1
- HMX switches × 20
- Plate Mounted stabilizers × 3
- Cross screwdriver × 1
- Screws × 16
- Feet × 1
- OLED Screen
- Nylon socket × 8
OLED Screen Showcase
Paint your own with LeleConsole
Import photos with LeleConsole
Calculator
Cat
How to assemble the LelePad?
- Separate the pcb, switch plate and bottom plate
- Use the diagonal plier to cut off the extra parts
- Install 3 pairs of the stabilizers to the switch plate
- Install several switches to the switch plate which is easy for the next step, Or you can install all the switches if you are a veteran
- Use the 4 sockets and 8 screws to connect the bottom plate with the pcb
- Use the 4 sockets and 8 screws to connect the bottom plate with the switch plate
- Put on the 4 feets, all done!